The Art of the Grill Master- Fresh Ground Chicken Burgers with Ginger Slaw

There are a few foods that could be considered an “Art Form”, sushi, bread, soups to mention a few.  There is one that seems to be in almost every household- The Almighty Burger….often the muse of the head Grill Master.  Not every family has a Grill Master, but I bet most do.  In our case, my husband Wes is definitely holding this position. As the Head Grill Master, he doesn’t take this title lightly; every meal that come off his grill is in fact a piece of art.

DSC_0494

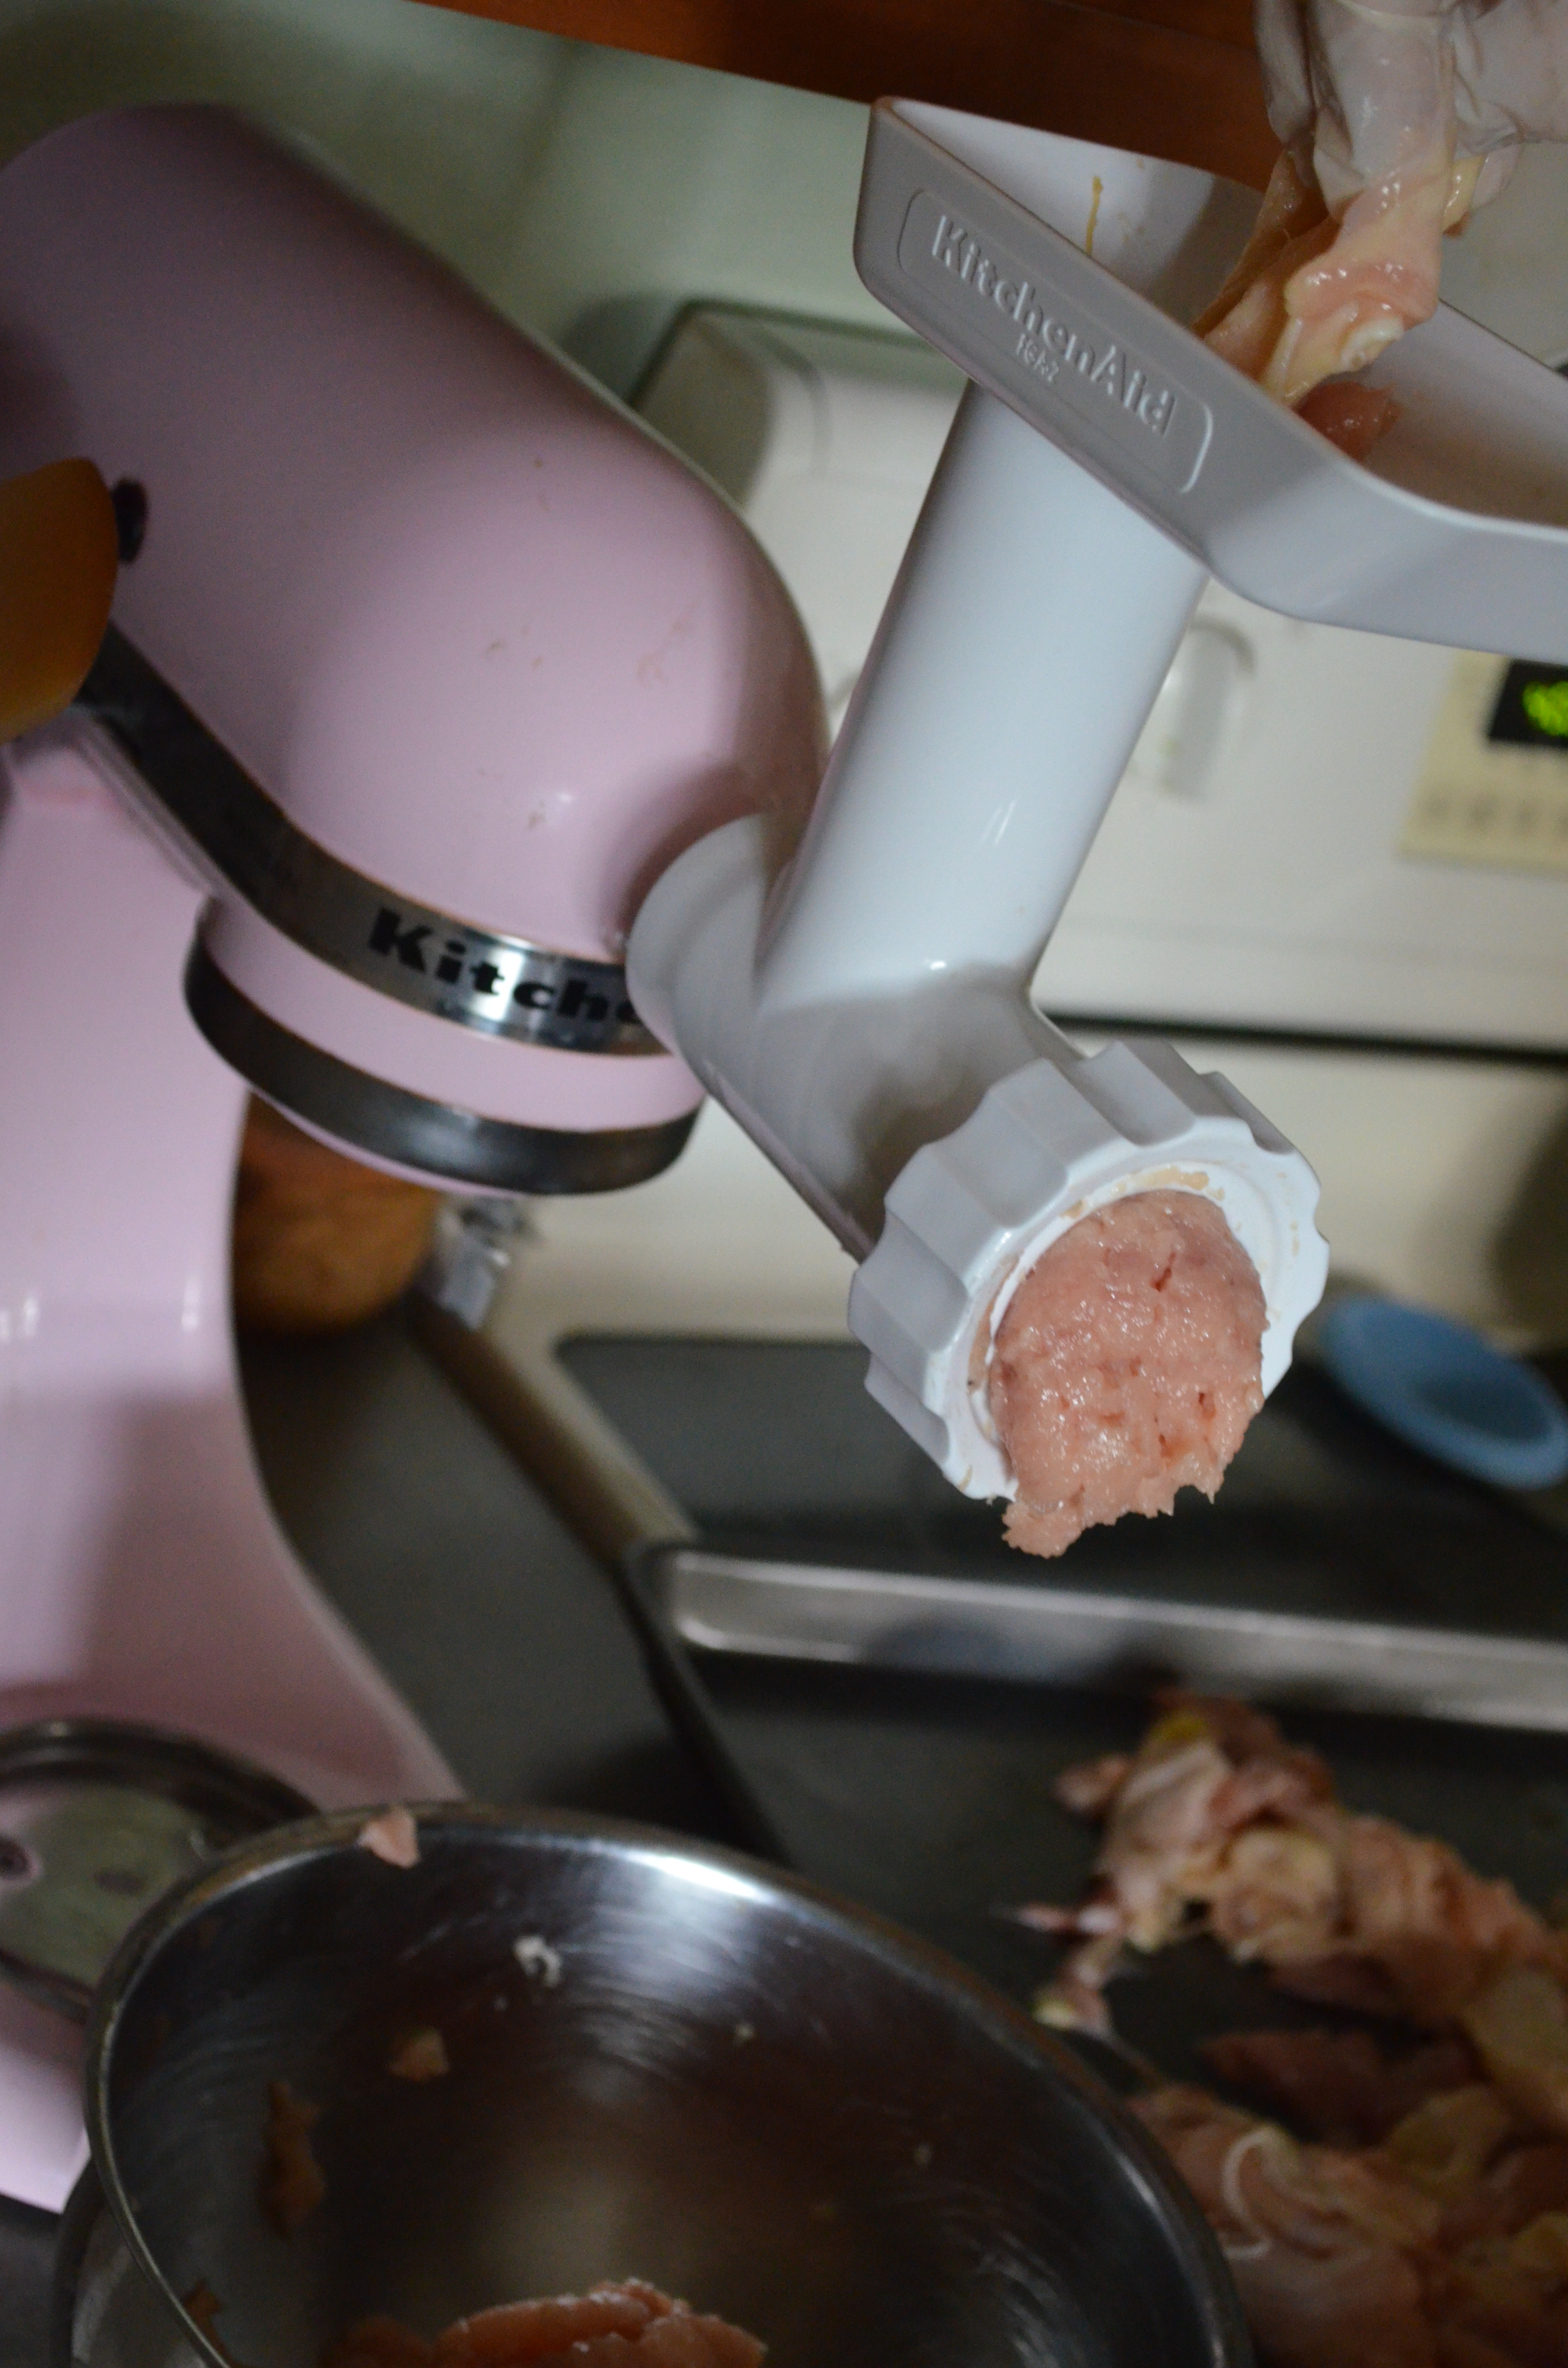
Wes has recently taken to grinding his own meats, so he can consider the ratio of fat to meat, the toughness of the cut, freshness of product, and type of meat, be it farm raised, local or organic or even the best deal of the week.  For real… he is in knee deep with developing the “absolute” burger.  In the meantime, we are eating superbly!

DSC_0390DSC_0387

One of his recent expeditions I was able to capture a recipe, and even add to it with a fresh made bun and slaw.

Chicken Burgers

  • 1- 3 pound whole chicken, deboned and ground
  • or
  • 2 pounds ground chicken
  • 4 teaspoons fresh sliced jalapeño
  • 2 teaspoon worcestershire sauce
  • 4 teaspoon favorite all-purpose seasoning
  • 1 teaspoon fresh ground ginger
  • 4 tablespoon chopped cilantro
  • 1 teaspoon kosher salt
  • ¼ teaspoon fresh ground black pepper

Combine all of the ingredients and mix well.  Allow the mixture to sit for a few hours to allow the flavors to blend.  Preheat your grill or prepare your charcoal while scooping 8 -½ cup (4 oz) portions and form patties.  When your grill is hot, cook burgers until they reach the safe temperature of 165.   Serve and enjoy!

DSC_0439DSC_0455

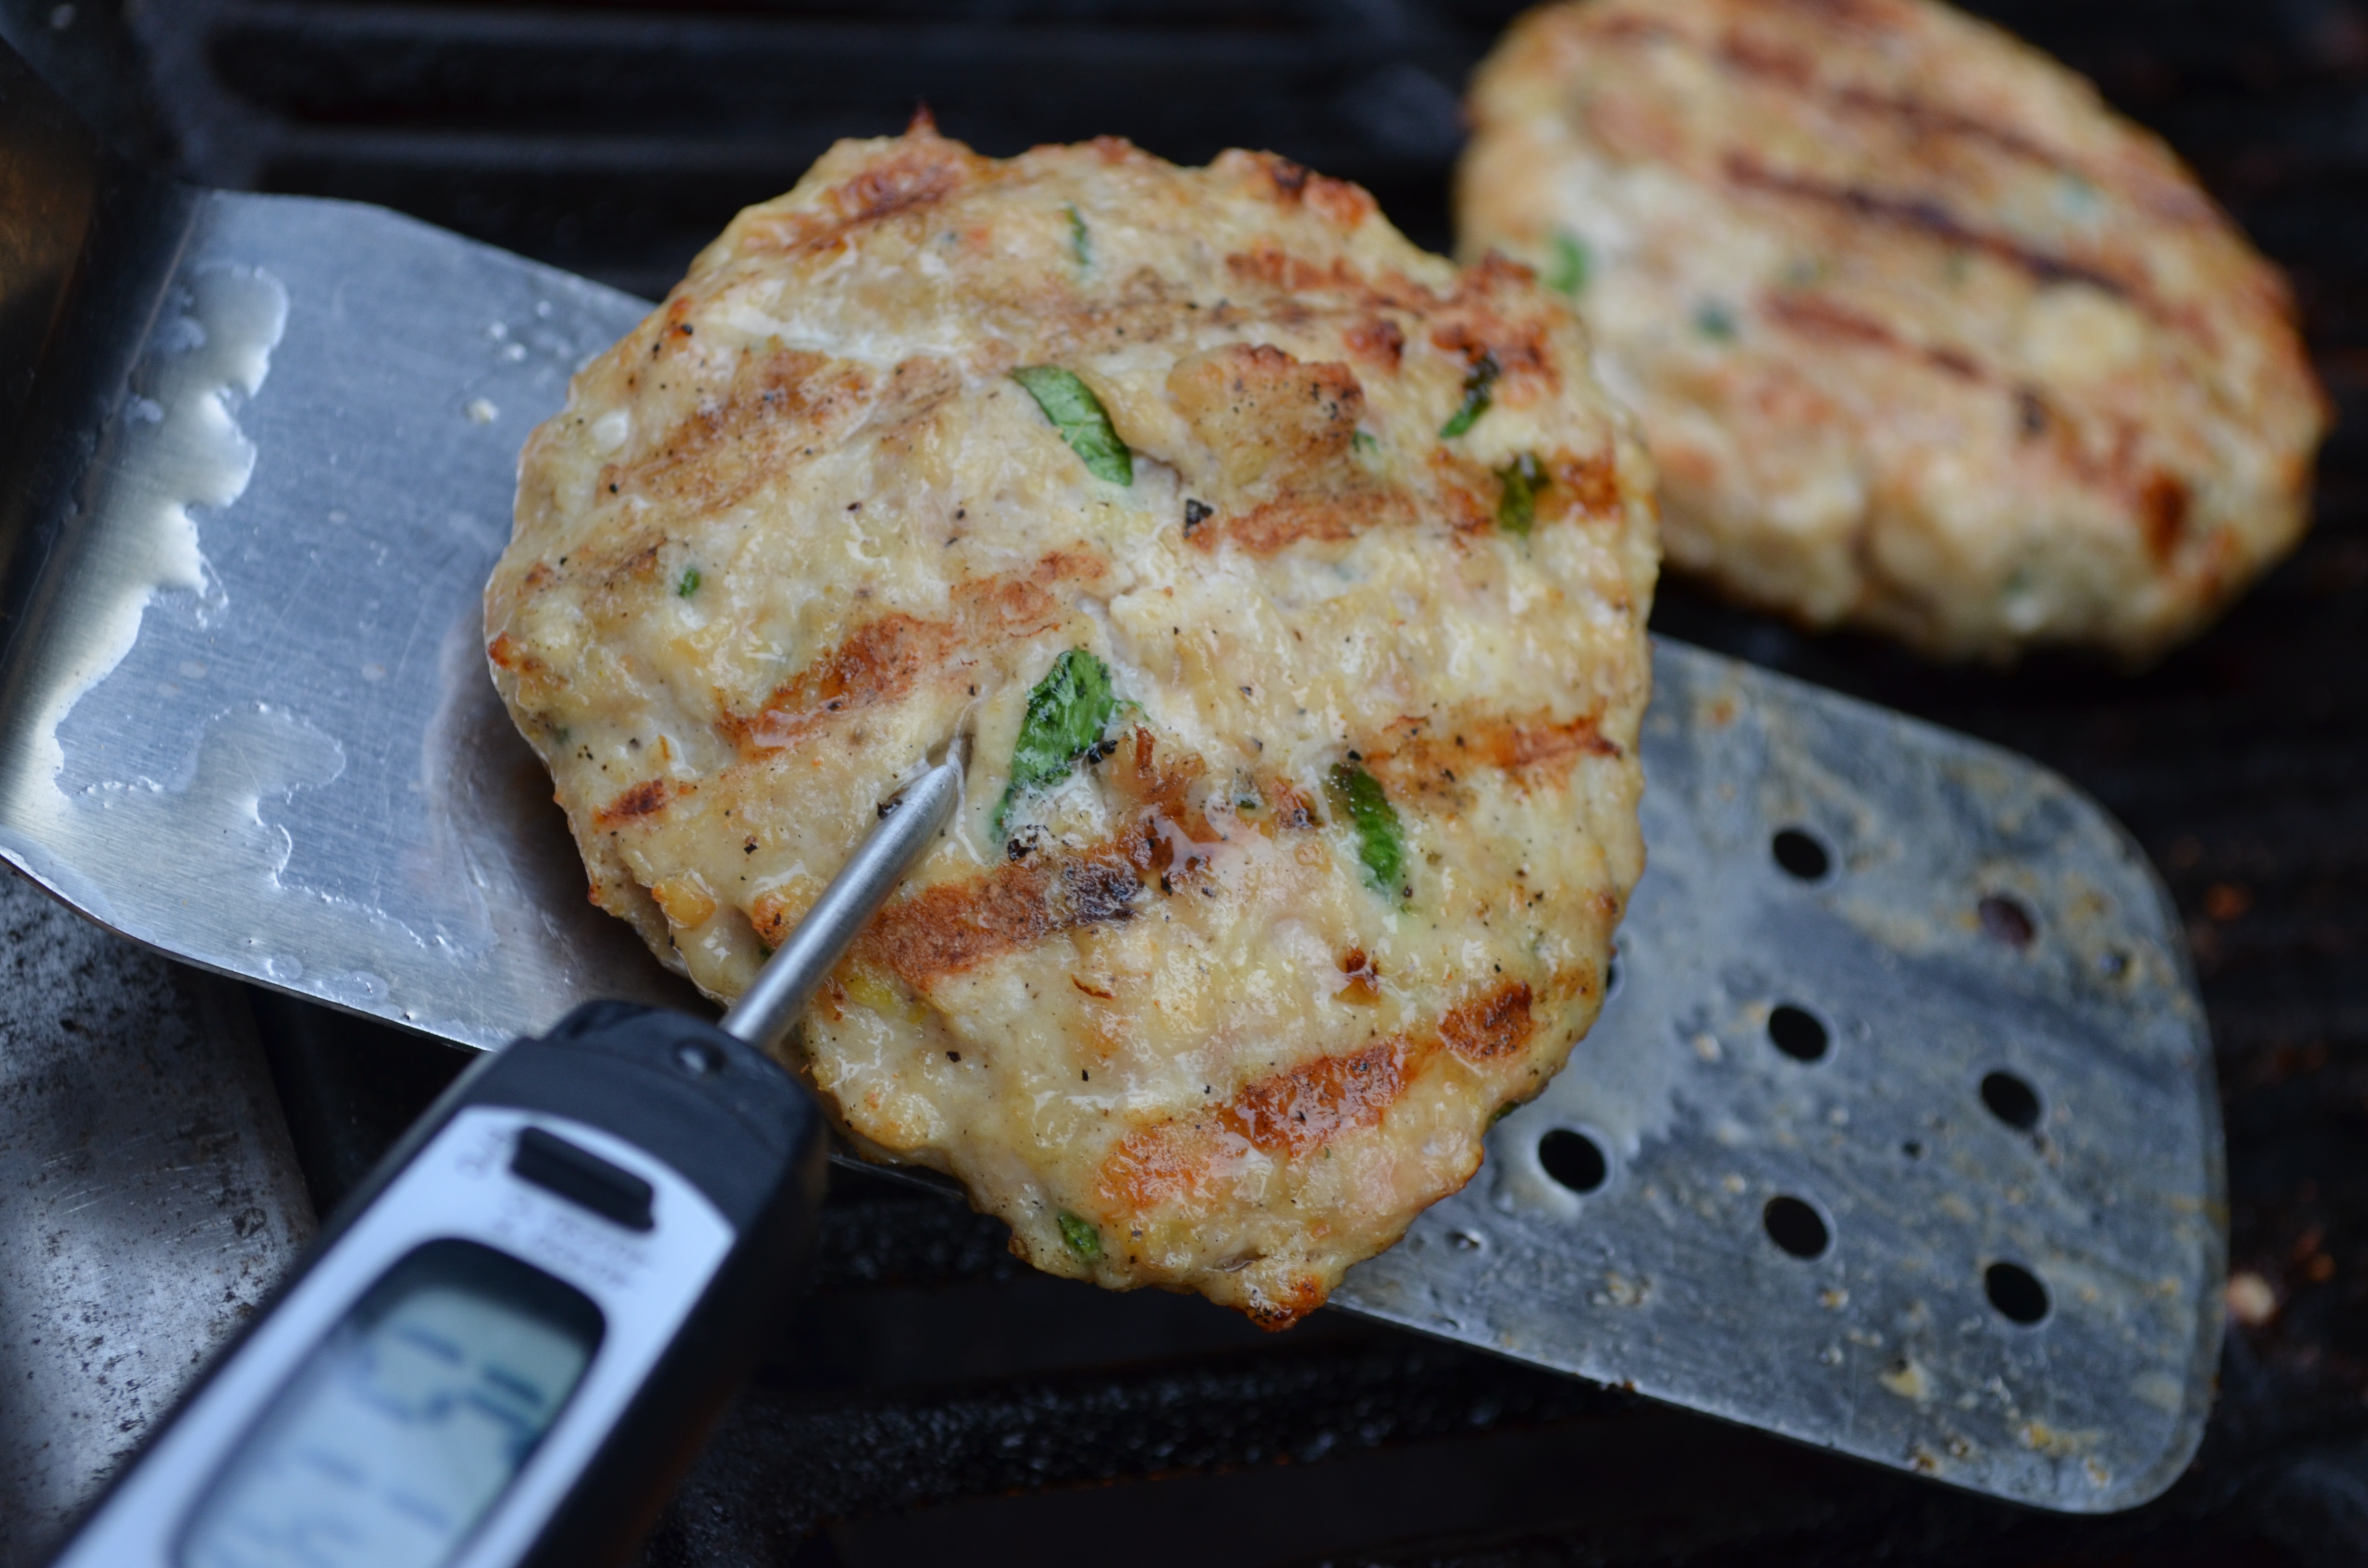
The chicken burger was packed with flavor, and very juicy.  So often burgers made with poultry tend to be dry, but he balanced the breast meat, thigh meat and skin perfectly.

DSC_0476

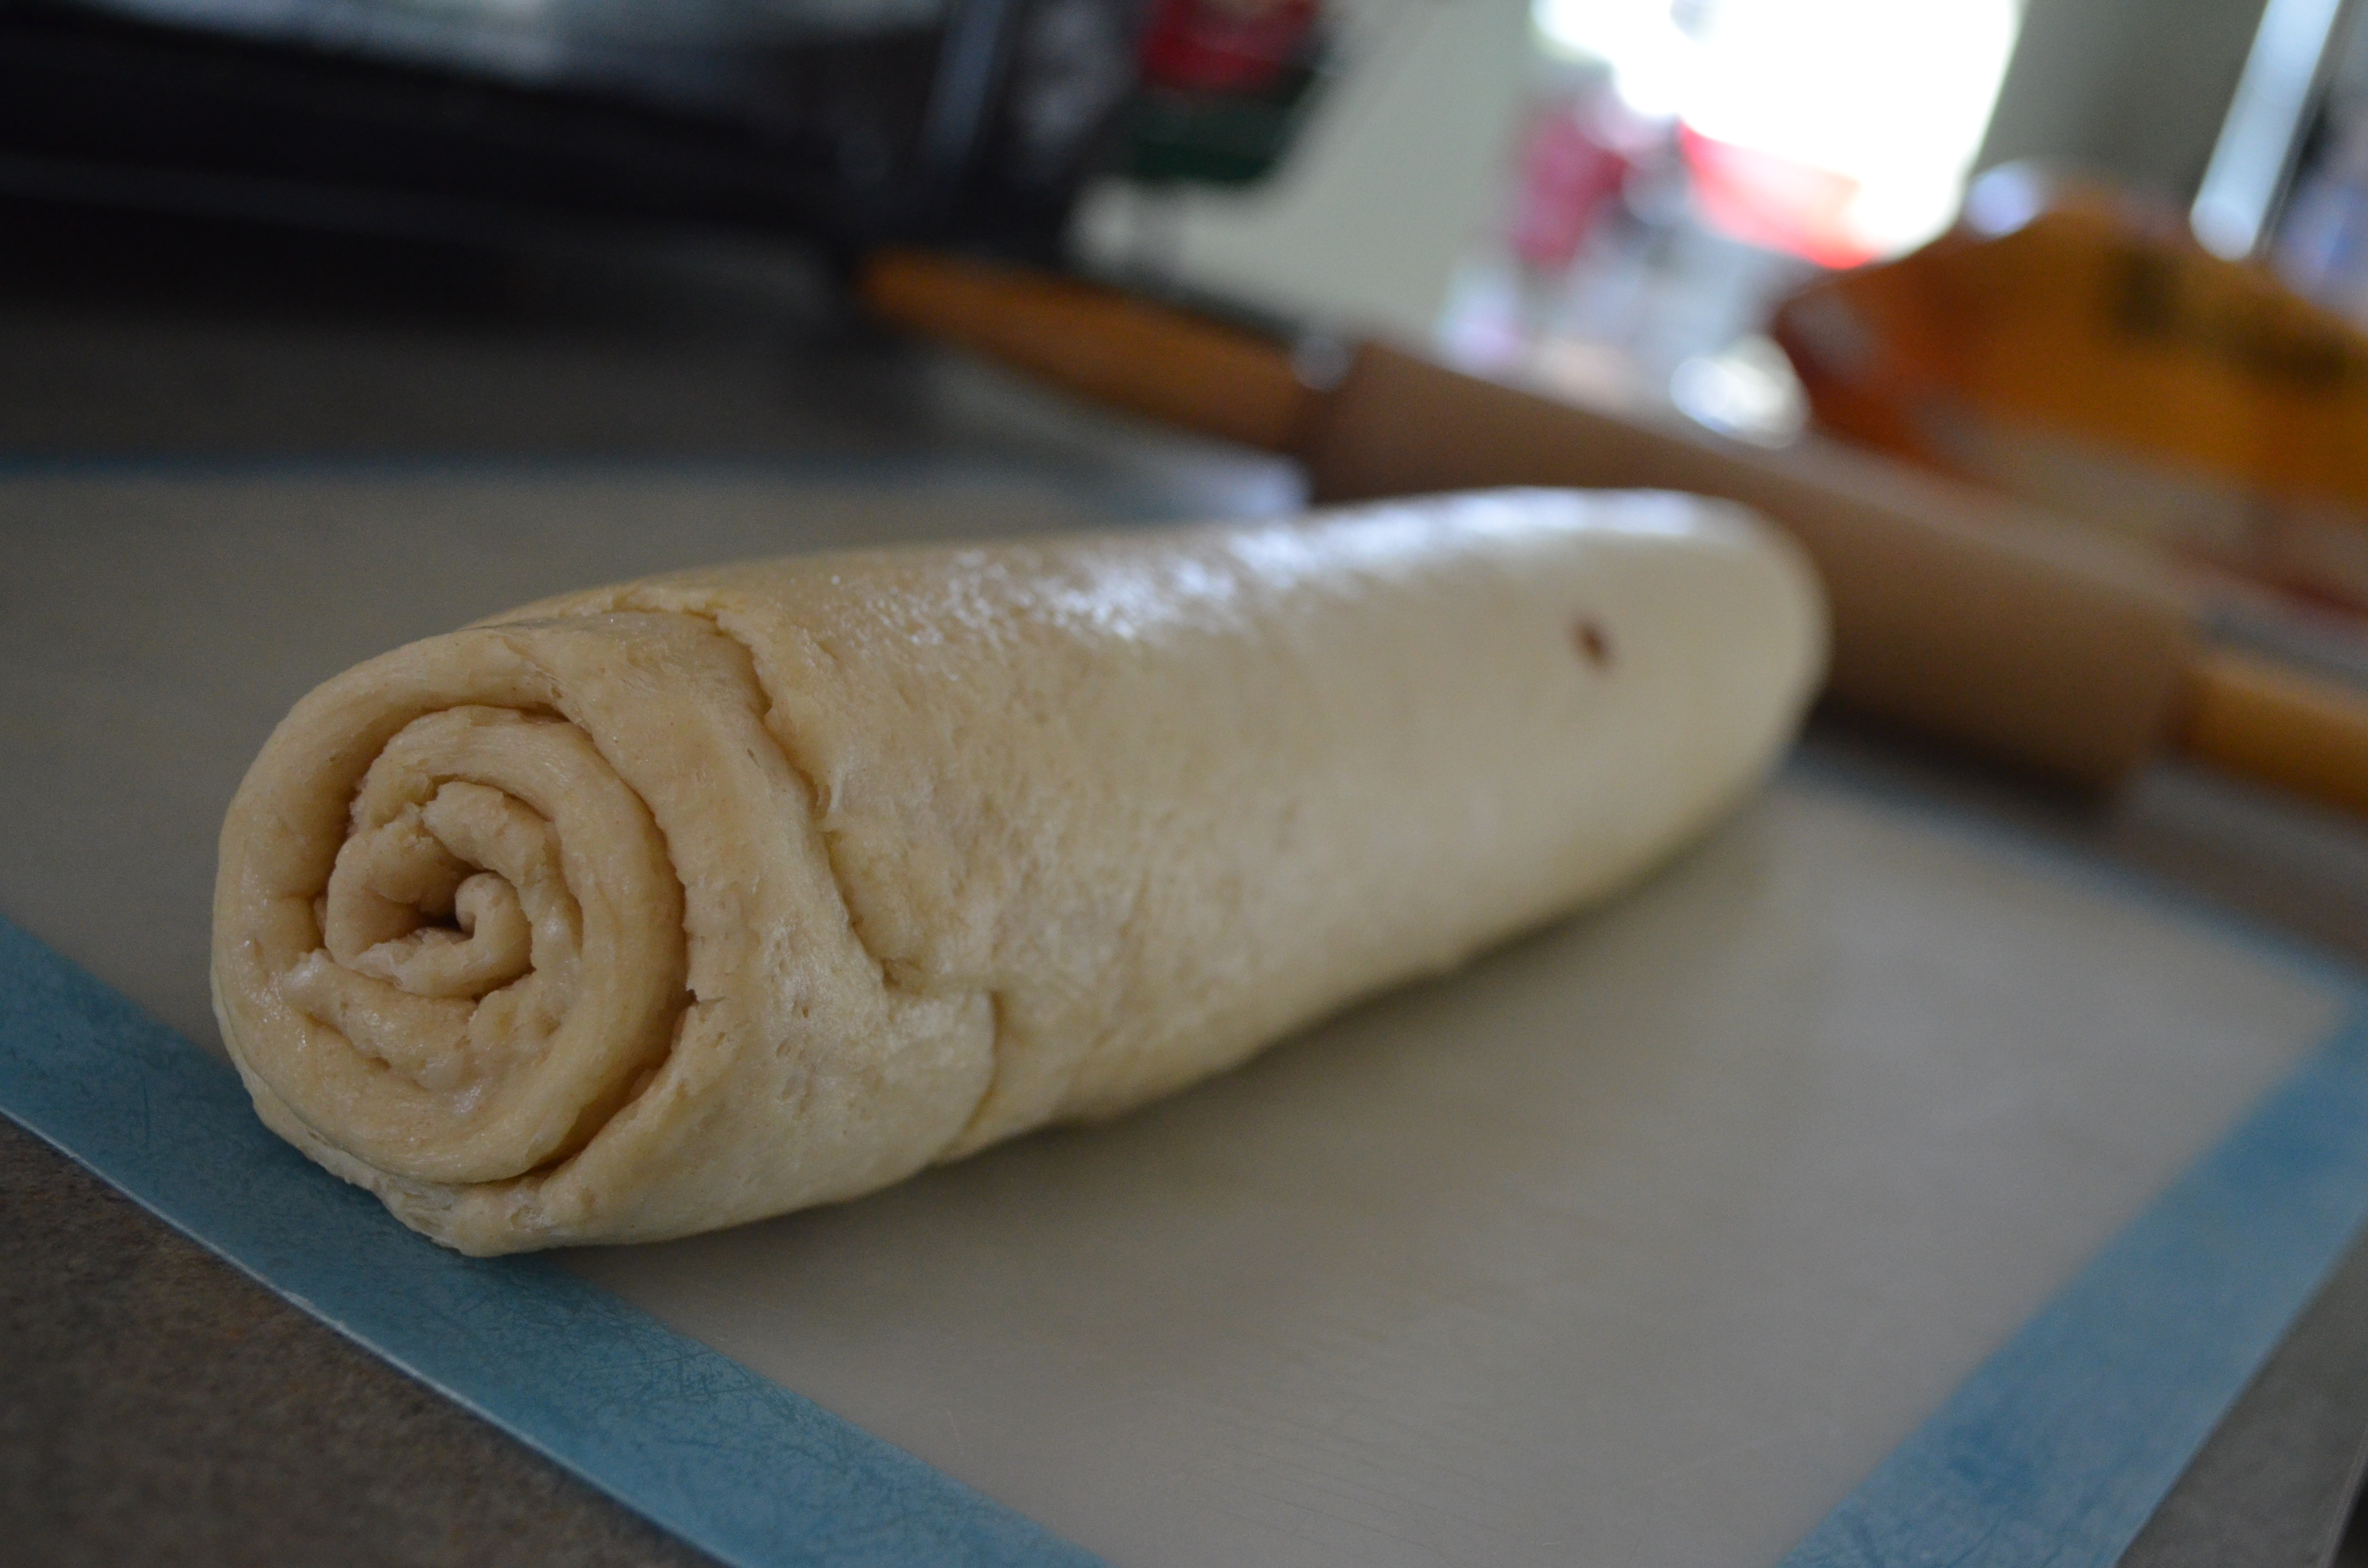
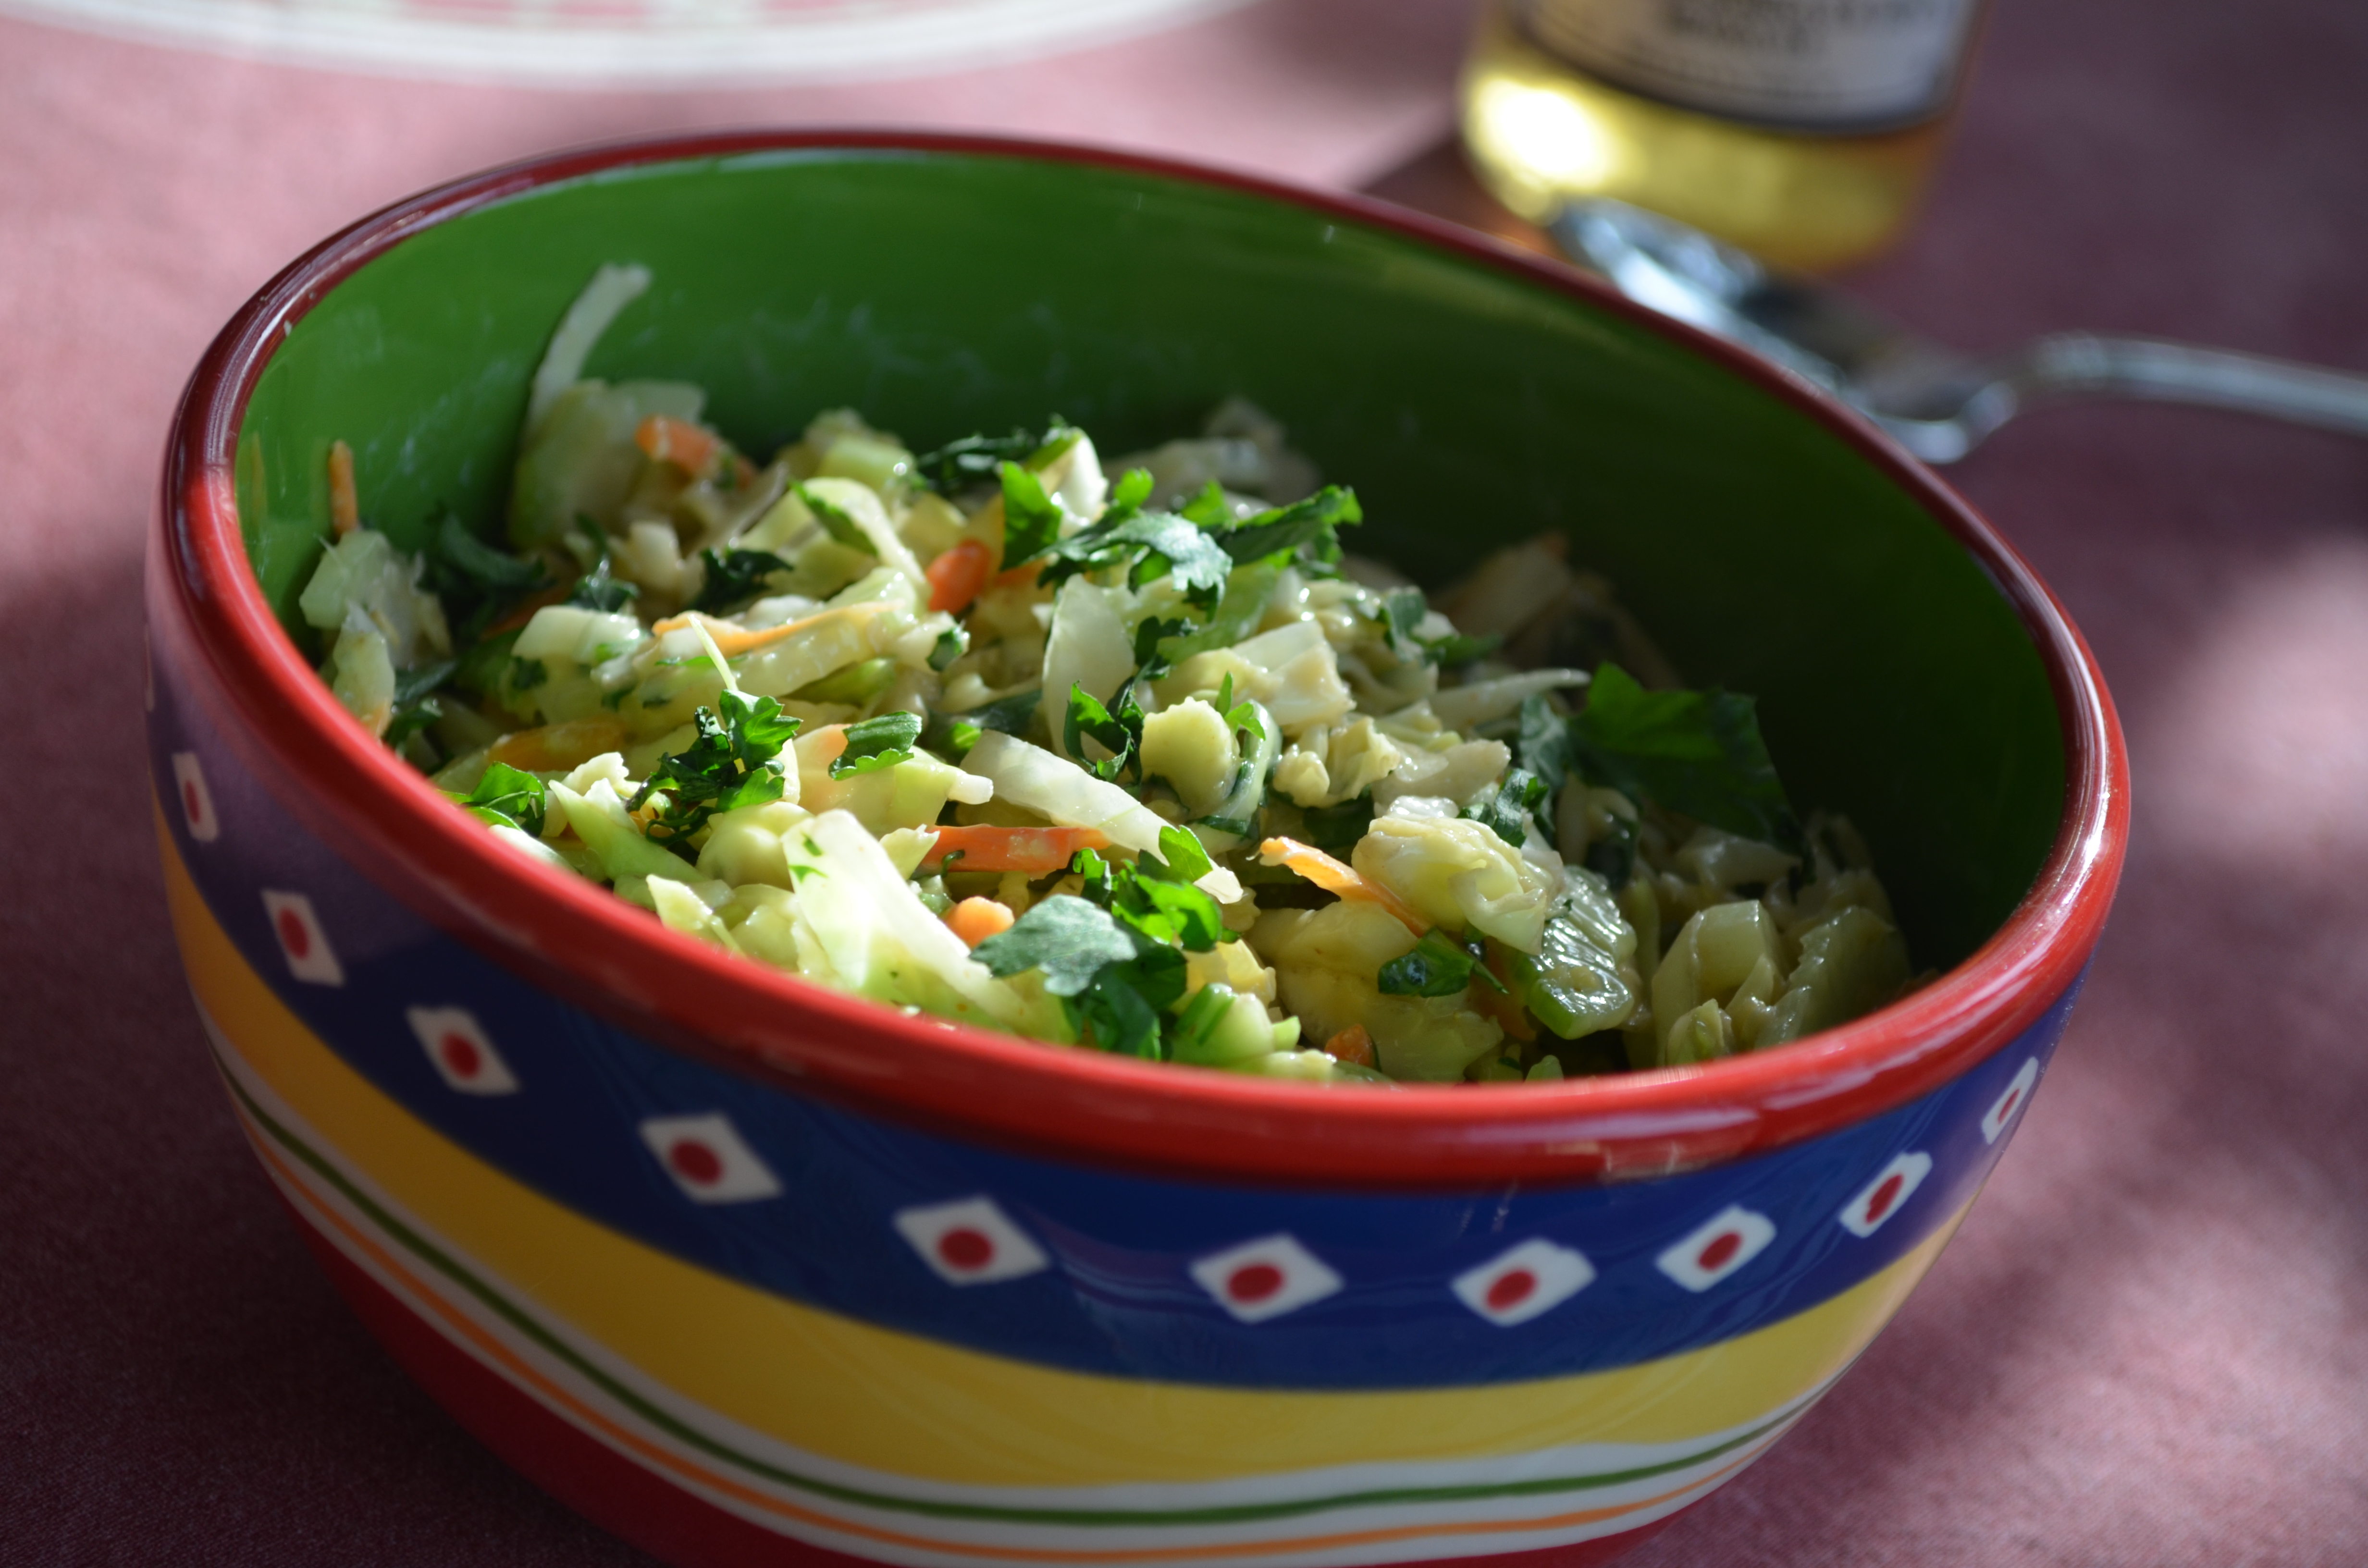
While Wes was preparing his inspired burgers and the dough for my buns was rising, I took to creating a salad to top the patties.  I love the crunch of a slaw on sandwiches, the texture and acidity adds a great depth.

DSC_0350

Ginger Slaw

Dressing

  • Juice of ½ lime
  • 2 teaspoon orange juice
  • 2 tablespoon mayonnaise
  • 2 tablespoon chopped cilantro

Slaw

  • 2 cups sliced cabbage
  • 3 tablespoons julienned carrots
  • 3 tablespoon sliced celery
  • 1 teaspoon fresh ground ginger

In a small bowl, add the ingredients for the dressing and stir together until creamy.  Combine raw ingredients in a mixing bowl, add the dressing and toss well.

DSC_0488

As in most art forms, the artist is rarely satisfied, but his fans are often thrilled and overwhelmed.  So while Wes continues on his search to find the “absolute” burger, and carries his reign as Grill Master, I will sit back and enjoy his artwork!

DSC_0503

I’d say this Grill Master is truly an Artist!

Everyone loves Buns- Homemade Onion Buns

Buns are often in the spotlight, gawked at and either praised or criticized!  Who doesn’t appreciate a great bun. All kinds of well made buns have their place, firm, soft, big and small included!

Sir Wes particularly loves good buns, especially when there is a burger in the middle.  I love when we fix burgers for dinner as Wes usually takes over this meal; my only responsibility is shopping for the mise en place, when I try to pick out the best looking buns in the bakery.  I recently gave Wes a grinder attachment for the Kitchen Aid, (which by the way, he loves) so when he wanted to use it for the first time to make burgers, I felt a little extra inspired to make my part more notable.  What better way than by making them fresh.

DSC_0415

I tried this recipe from King Arthur Flour a few times, and slightly adapted it to make it work a little better for a bread making novice.

Dough

  • 3/4 cup to 1 cup lukewarm water*
  • 2 tablespoons butter
  • 1 large egg
  • 3 1/2 cups King Arthur Unbleached All-Purpose Flour
  • 1/4 cup sugar
  • 1 1/4 teaspoons salt
  • 1 teaspoon onion powder
  • 1 tablespoon instant yeast

*Use the lesser amount in summer (or in a humid environment), the greater amount in winter (or in a dry climate), and somewhere in between the rest of the year, or if your house is climate controlled.

Topping

  • 3 tablespoons minced dried onion
  • 1 egg white beaten with 1 tablespoon water
  • Topping seeds: sesame, poppy, etc., optional

Directions

  • To make the dough: In a small container, combine the yeast with 3 tablespoons of warm water and allow to bloom for a few minutes.
  • Combine all of the dough ingredients, and mix and knead them—by hand, mixer, or bread machine—to make a soft, somewhat tacky dough.
  • Place the dough in a lightly greased bowl or other container large enough to allow it to at least double in bulk, cover, and let it rise for about 60 to 70 minutes, till it’s just about doubled.  Try a sunny window, or close to a heat source if you struggle with dough rising.

DSC_0283DSC_0294

  • Transfer the dough to a lightly greased work surface, and pat/roll it into a 12″ x 17″ rectangle
  • Sprinkle the dough with the minced onion, and press/roll it into the surface gently. Reserve a small amount of onion to sprinkle on top of the buns.

DSC_0310DSC_0316

  • Starting with a short (12″) end, roll the dough into a log, sealing the ends and side seam.
  • Cut the log into eight slices. A pair of scissors works very well here.
  • Place the buns on a lightly greased or parchment-lined baking sheet, flattening them to about 3″ wide. Cover them, and allow them to rise till they’re very puffy, about 1 hour. Towards the end of the rising time, preheat the oven to 375°F.

DSC_0319

  • Uncover the buns, brush them with the beaten egg white/water, and sprinkle with seeds, if desired.
  • Bake the buns for 20 to 25 minutes, until they’re golden brown and feel set when you poke them.
  • Remove them from the oven, and cool on a rack. When completely cool, wrap in plastic, and store at room temperature.

DSC_0377

It’s fun to take a favorite family meal and make it a bit more special by making something fresh.  Maybe it’s grinding the meat, or making the buns, fresh tortillas or pasta, or even just making a new marinade.  Taking chances in the kitchen is what makes it fun, and also how you grow into a better chef.

DSC_0432

Cheers to each and every one finding the perfect bun!!

Valentine’s Bacon Cake Pops- Tabitha’s Tasty Temptations

Love is in the air or is that chocolate? …or bacon grease?   I hope everyone found some sweetness today, someone to gaze at or a warmth of the heart!   I took this oppurtunity to try out a small local business and gave Sir Wes something I knew he would love- Bacon Cake Pops!

DSC_0085

The greatest part of this confectioner was their custumization- I was ballsy enough to request a special order at the last moment and was lucky enough for it to be granted.

DSC_0087

I have tasted several flavors from Tabitha’s Tasty Temptations– all delicious and unique.  You can tell there is a chef involved with the flavor combinations.  If you are in Central Florida- give them a try.

DSC_0098

So happy I get to spend another Valentine’s Day with my best friend- everyday I know how lucky I am- Love you Sir Wes!!

Smores Brownies

Ahhhh, the Florida winter weather.  Let me pick out what shorts to put on today, ones that match my favorite tan flip flops.  All while I am watching the news reports of the snow storm that has struck the northeast United States.  Piles of snow, city transportation suspended, flights cancelled, tired commuters sleeping on the airport floor- how many Facebook snow related pictures are on your news feed?   Admittedly, I am super jealous- would love to take a sled ride down the hill I grew up with in my Philadelphia back yard.

DSC_0114

Camping season, fire pit season, or even just soft blanket season come unexpectedly in Florida, and is gone before you know it.  I love cool nights that justify buying leather boots or a great looking jacket.  Sitting outside by our fire pit that has only been used a handful of times is a great way to end the day.  When there is a chance of winter visiting Florida, I grab on tight-  boots, fires, blankets, comfort dinners and how could Smores be ignored.

DSC_0124

Generally there is a box of brownie mix in our cabinet, stemming from my inability to resist 2 for 1 at the grocery.  Pastry Chefs may balk, but honestly, I have yet to meet a bad brownie.  Bad Cookies, cakes, ect- yes, I have tasted several that I put down with displeasure, but not the brownie.  Brownies are simply never bad.    With a cool night upon us, I pulled out the box mix and grabbed the smores components that I keep for in hopes of an impromptu fire pit evening.  They came out delicious!  A tall glass of ice cold milk and every bite was a treat.

DSC_0157

Ingredients

  • ½ stick butter, melted
  • 1 cup graham crumbs, about 6 crackers
  • ¼ cup brown sugar
  • 1 box favorite brownie mix, or make your favorite recipe
  • 2 cups mini marshmallows

Directions

Preheat oven to 325.  Combine the melted butter, graham crumbs and brown sugar in a bowl and blend well.  Coat 9×9 brownie pan with cooking spray and spread graham crust evenly on the bottom of the pan.  Prepare brownies as directed on the box or in the recipe and pour on top of graham crust.  Bake  33-36 minutes or as directed.  Remove from oven when the center of the brownies is cooked, try sticking a toothpick in to see if it comes out clean.  Turn the oven to broil and sprinkle the marshmallows around the pan.  Place the pan back in the oven and watch until the marshmallows are evenly toasted.  Remove from oven and allow to cool.  Cut into squares as small or big as you like and enjoy!

DSC_0130

There may not be any sleds or even firepits in my plans for the weekend but the memories of multiple snow suit changes, mugs of hot cocoa and races down the hill will bring a smile when I see the 100th picture of snow in my Facebook feed.

May you enoy the snow or escape the snow this weekend- either way, stay warm in the heart!

South Carolina Deep Dish Pizza

This is a dish from my brother, Sir Ryan’s South Carolina kitchen that has been talked about for a few years.  Over time he has worked on convincing me to give it a try, and though it sounded fabulous and I wanted to make it, it just never happened.  While Ryan and his family were visiting over the Christmas holiday he put one together and proved that this pie was all that.  We couldn’t resist giving it another try ourselves a few weeks later and for once the tables turned and I found myself calling the novice chef brother of mine for advice.

DSC_0188

Make this as simple or complicated as you like, buy premade dough or make it fresh yourself, buy pizza sauce or create your own.  For me this is a fast, decadent meal, and I prefer to keep it that way.  Maybe if I had some Jersey tomatoes available I would make my own sauce.

DSC_0085

  • 3 tablespoons olive oil
  • 1 ½ ounce grated parmesan cheese
  • 1# Pizza Dough, make it fresh or buy premade from the market
  • 10 ounces pizza sauce
  • 2 cups shredded mozzarella
  • 2 ¼ ounces turkey pepperoni
  • 4 ½ ounces (1 cup) cooked turkey sausage crumbles
  • 1 green pepper, small diced
  • 1 medium yellow onion, small diced
  • 1 tablespoon chopped garlic
  • 2 tablespoons julienned basil

DSC_0098DSC_0104

Preheat oven to 350.  Sauté the garlic, peppers, onions and basil until fragrant and set aside. Gather the remaining mise en place and 9” spring form pan, or another deep round pan you have in your kitchen arsenal.  Coat the pan with olive oil and dust the parmesan cheese evenly around the surface.  Place the dough ball in the pan and push the bulk of the dough towards the edges.  Start the layering process with a sprinkling of shredded mozzarella, followed by the pizza sauce and then the meat and vegetable toppings.  Apply pressure to the toppings, causing the dough to move towards the edge and grow up the pan.  Top with cheese and layer in the same order, each time pushing down to move the dough up the sides of the pan.  End the layering with a healthy amount of cheese and a dusting of parmesan.  Bake for 60- 70 minutes, getting the top to be bubbly, golden, mouthwatering perfect.

DSC_0134

This is a pretty massive deep dish, certainly enough for 4 filling servings.  After removing it from the pan (the spring form pan makes the removal so easy), the pie just looks sinfully irresistible.

DSC_0207

Easy for a big game, a Friday family night or even a hump-day perk.

Just a reminder that you can learn from anyone- Thanks Sir Ryan for treating us to this amazing pie!