Buffalo Chicken Pierogies

Sheez- fall has come and is almost gone.  We just finished up with the Epcot Food and Wine Festival and our big event of the year, the Walt Disney World Service Celebration, which is a crazy busy time of year and has made time fly by.  Sir Wes was such a champ to take on most of the house chores and help me out so much thru the last few months so I wanted to do something special for him.  Which naturally translates to cooking him something.

DSC_0822

I saw this recipe at Soph n’ Stuff and could not resist another buffalo chicken adventure.  I have mentioned Sir Wes can’t go without wings for more then 2 weeks, so I try to find ways to switch it up.

DSC_0814

Pierogie Dough
Ingredients

•3 cups all-purpose flour
•1 teaspoon salt
•1 egg
•3/4 cup water
•2 tablespoon vegetable oil

Preparation

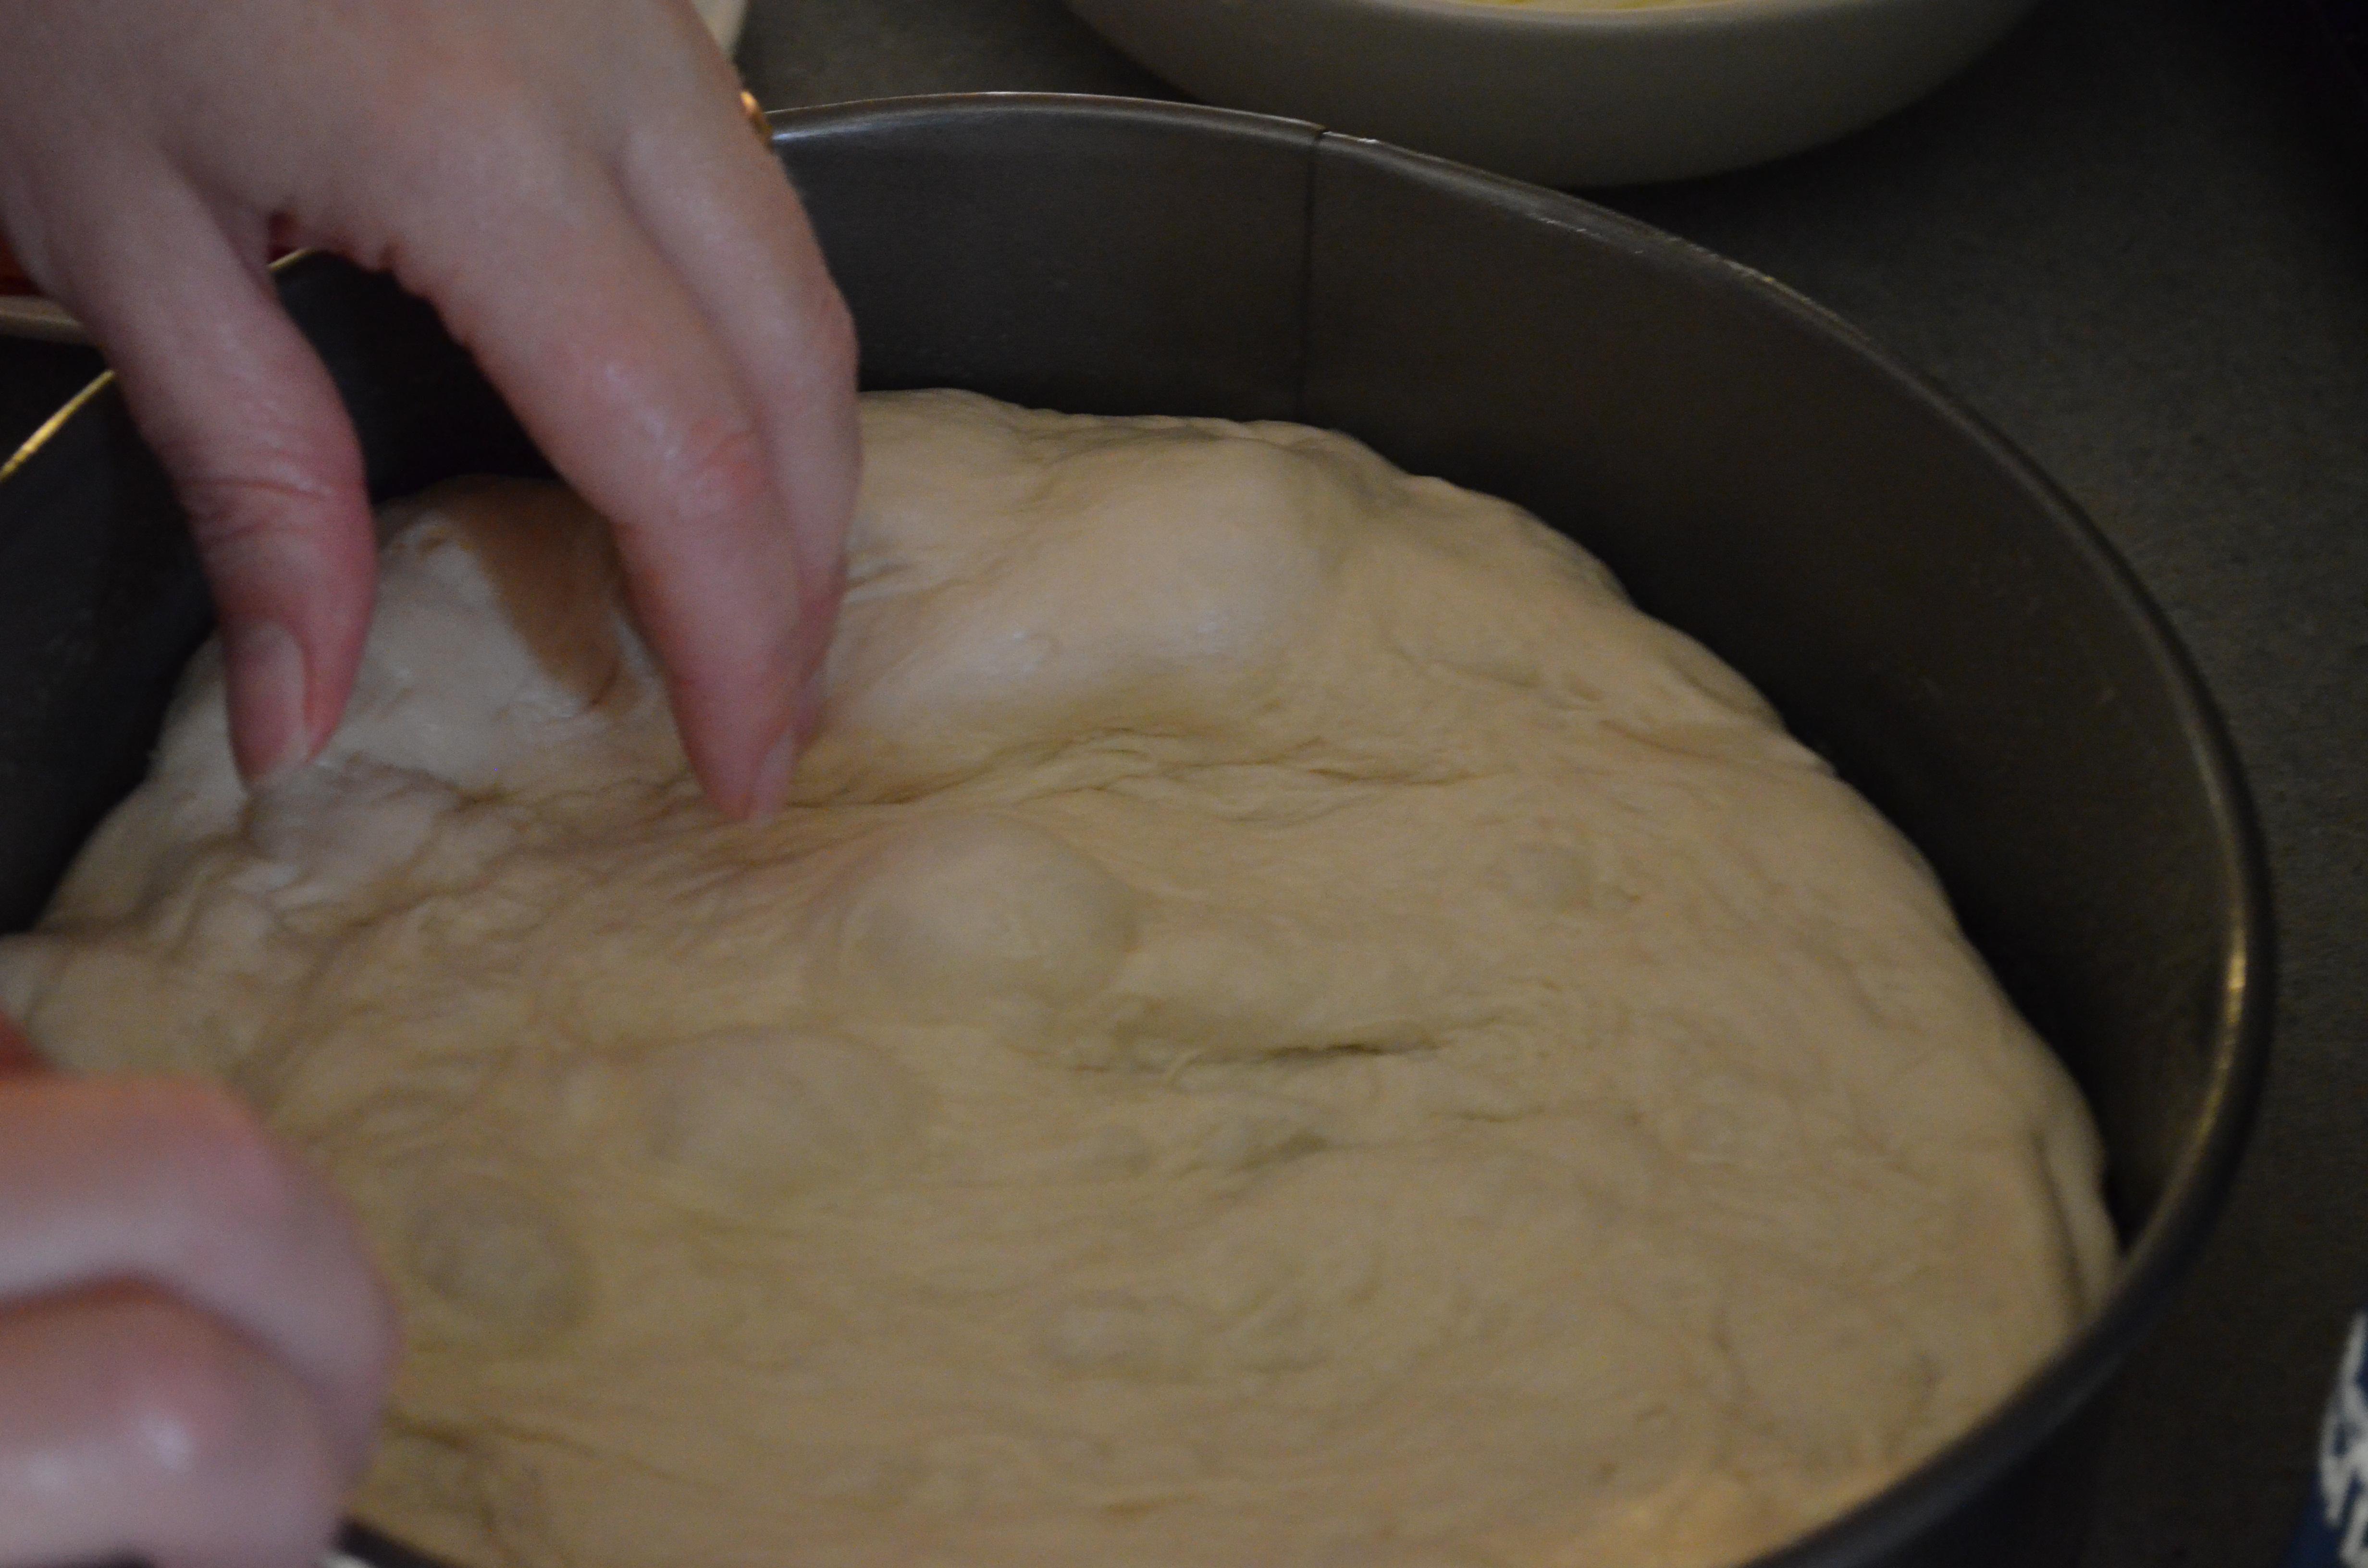
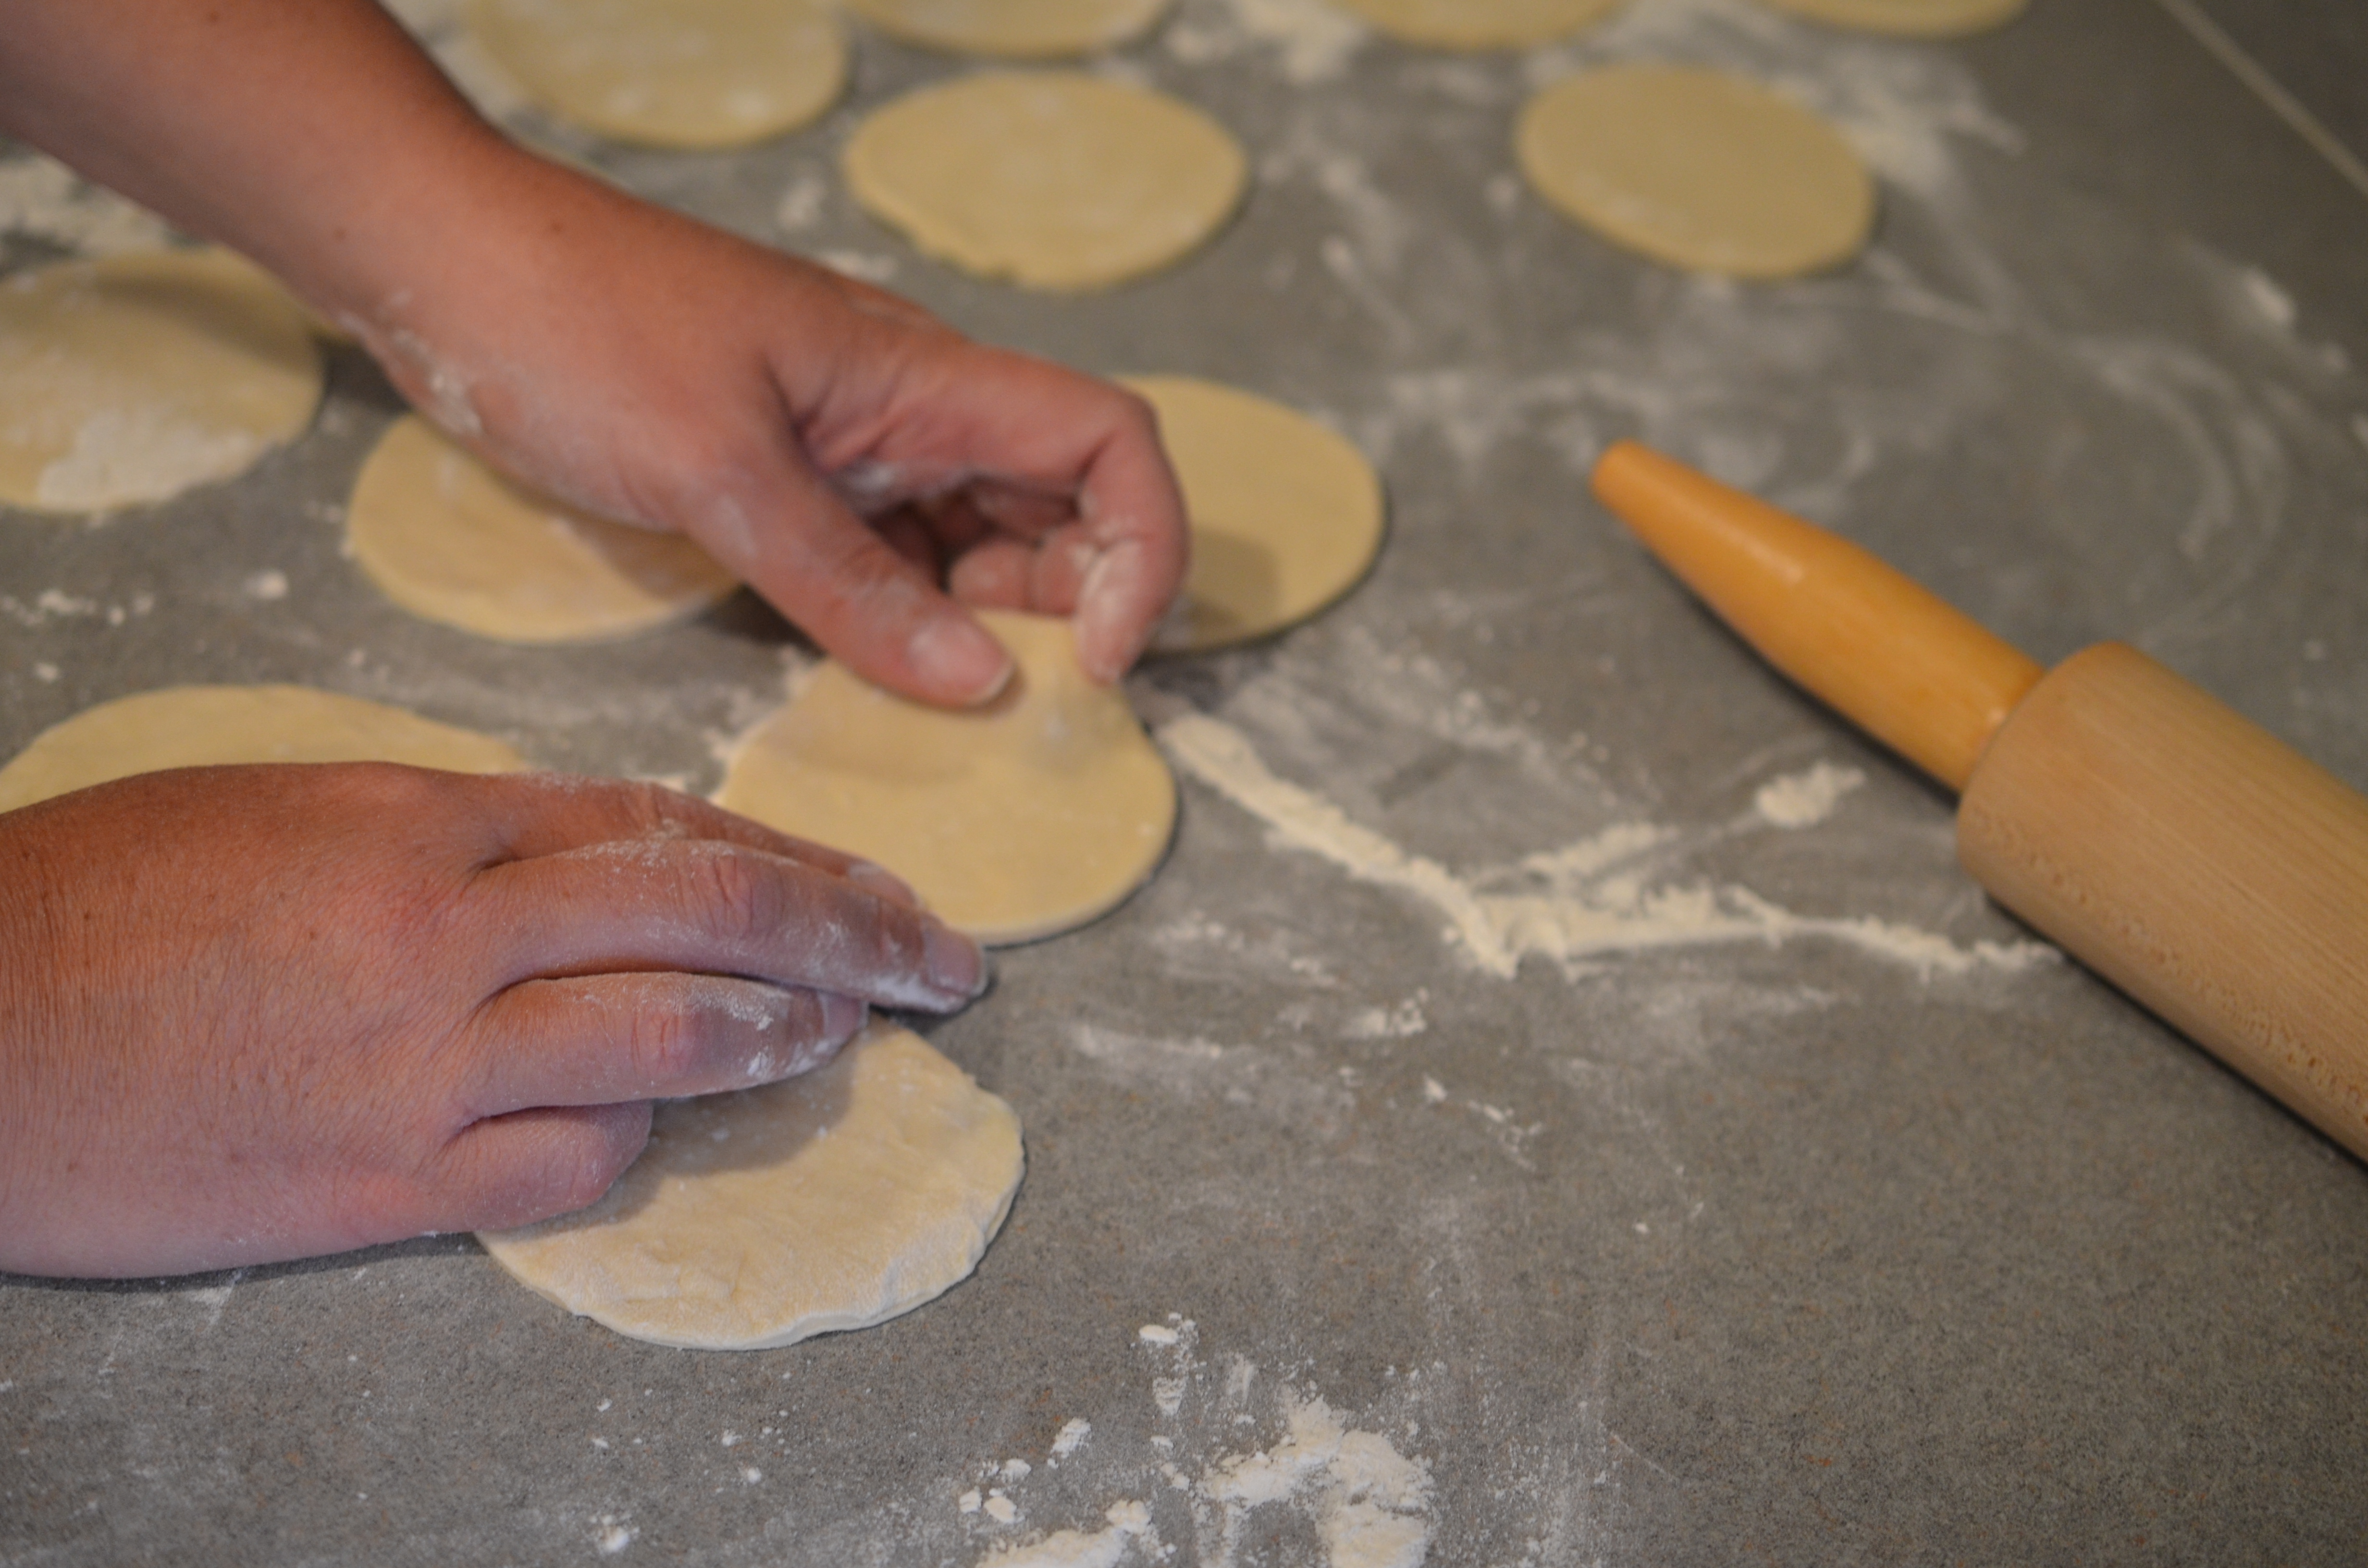
Using a food processor, add all ingredients and pulse, slowly adding water until a solid dough forms.  Move the dough out onto a floured countertop and knead a few times until smooth.  Top with plastic wrap and allow it to rest for 30 minutes before rolling and cutting it into rounds.

DSC_0741

Buffalo Chicken Pierogie Ingredients

•1 batch pierogie dough, cut into 36 rounds
•2 cups unsalted mashed potatoes
•1/4 cup frank’s red hot sauce
•1 skinless boneless chicken breast, cut into 1 inch cubes
•1/2 cup all-purpose flour
•1 teaspoon chili powder
1 teaspoon cayenne
1 teaspoon garlic powder
•1/2 teaspoon kosher salt
1 teaspoon fresh ground black pepper
•1 egg
•1 cup vegetable oil, for frying
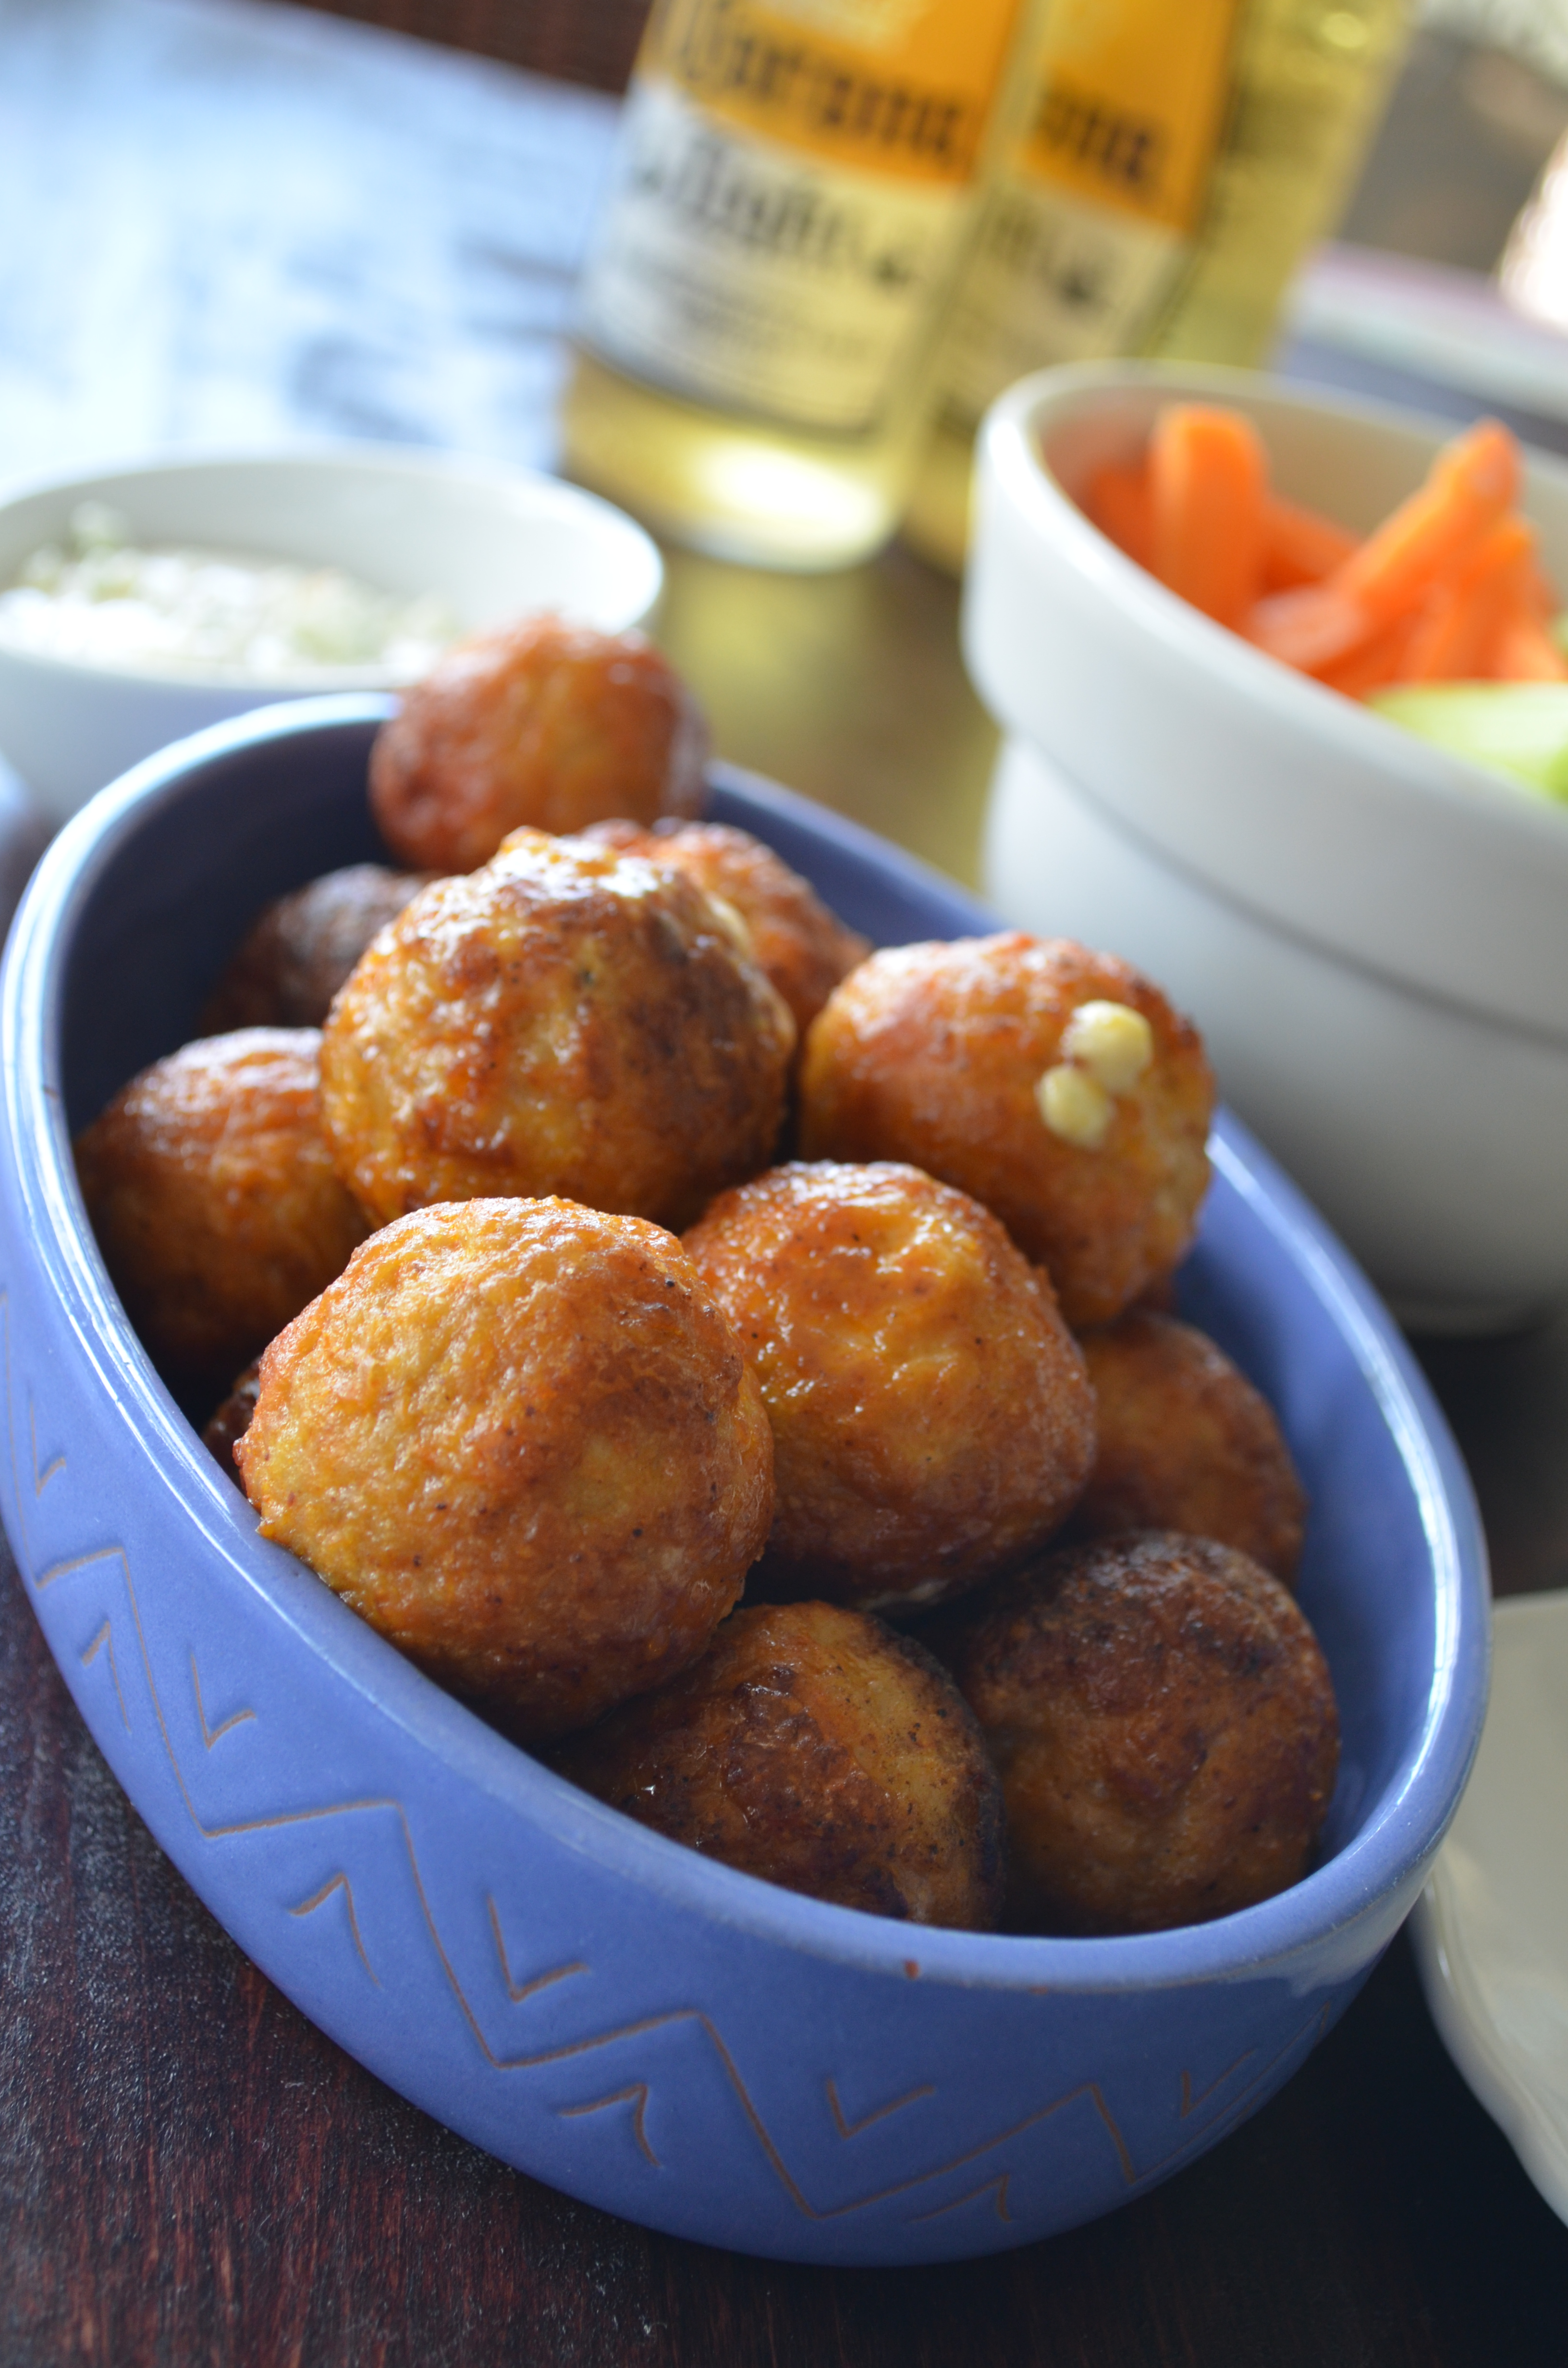
•1/4 cup blue cheese, crumbled into small nuggets
•carrots and celery sticks, for garnish

Preparation

In a bowl, add frank’s red hot sauce to potatoes and combine with a fork. Set aside.

Blend flour, spices, salt and pepper in a medium bowl. In a small bowl, whisk egg. Take chicken pieces and coat each in egg mixture, then dredge through flour mixture, coating well.

Heat oil in a medium saucepan over medium-high heat. The oil will reach temperature when you drop a pinch of flour into the oil and it sizzles. Working in small amounts at a time, fry the breaded chicken pieces for 2-3 minutes on each side, until the breading is golden brown. Set the pieces aside to drain on a paper towel.

DSC_0747

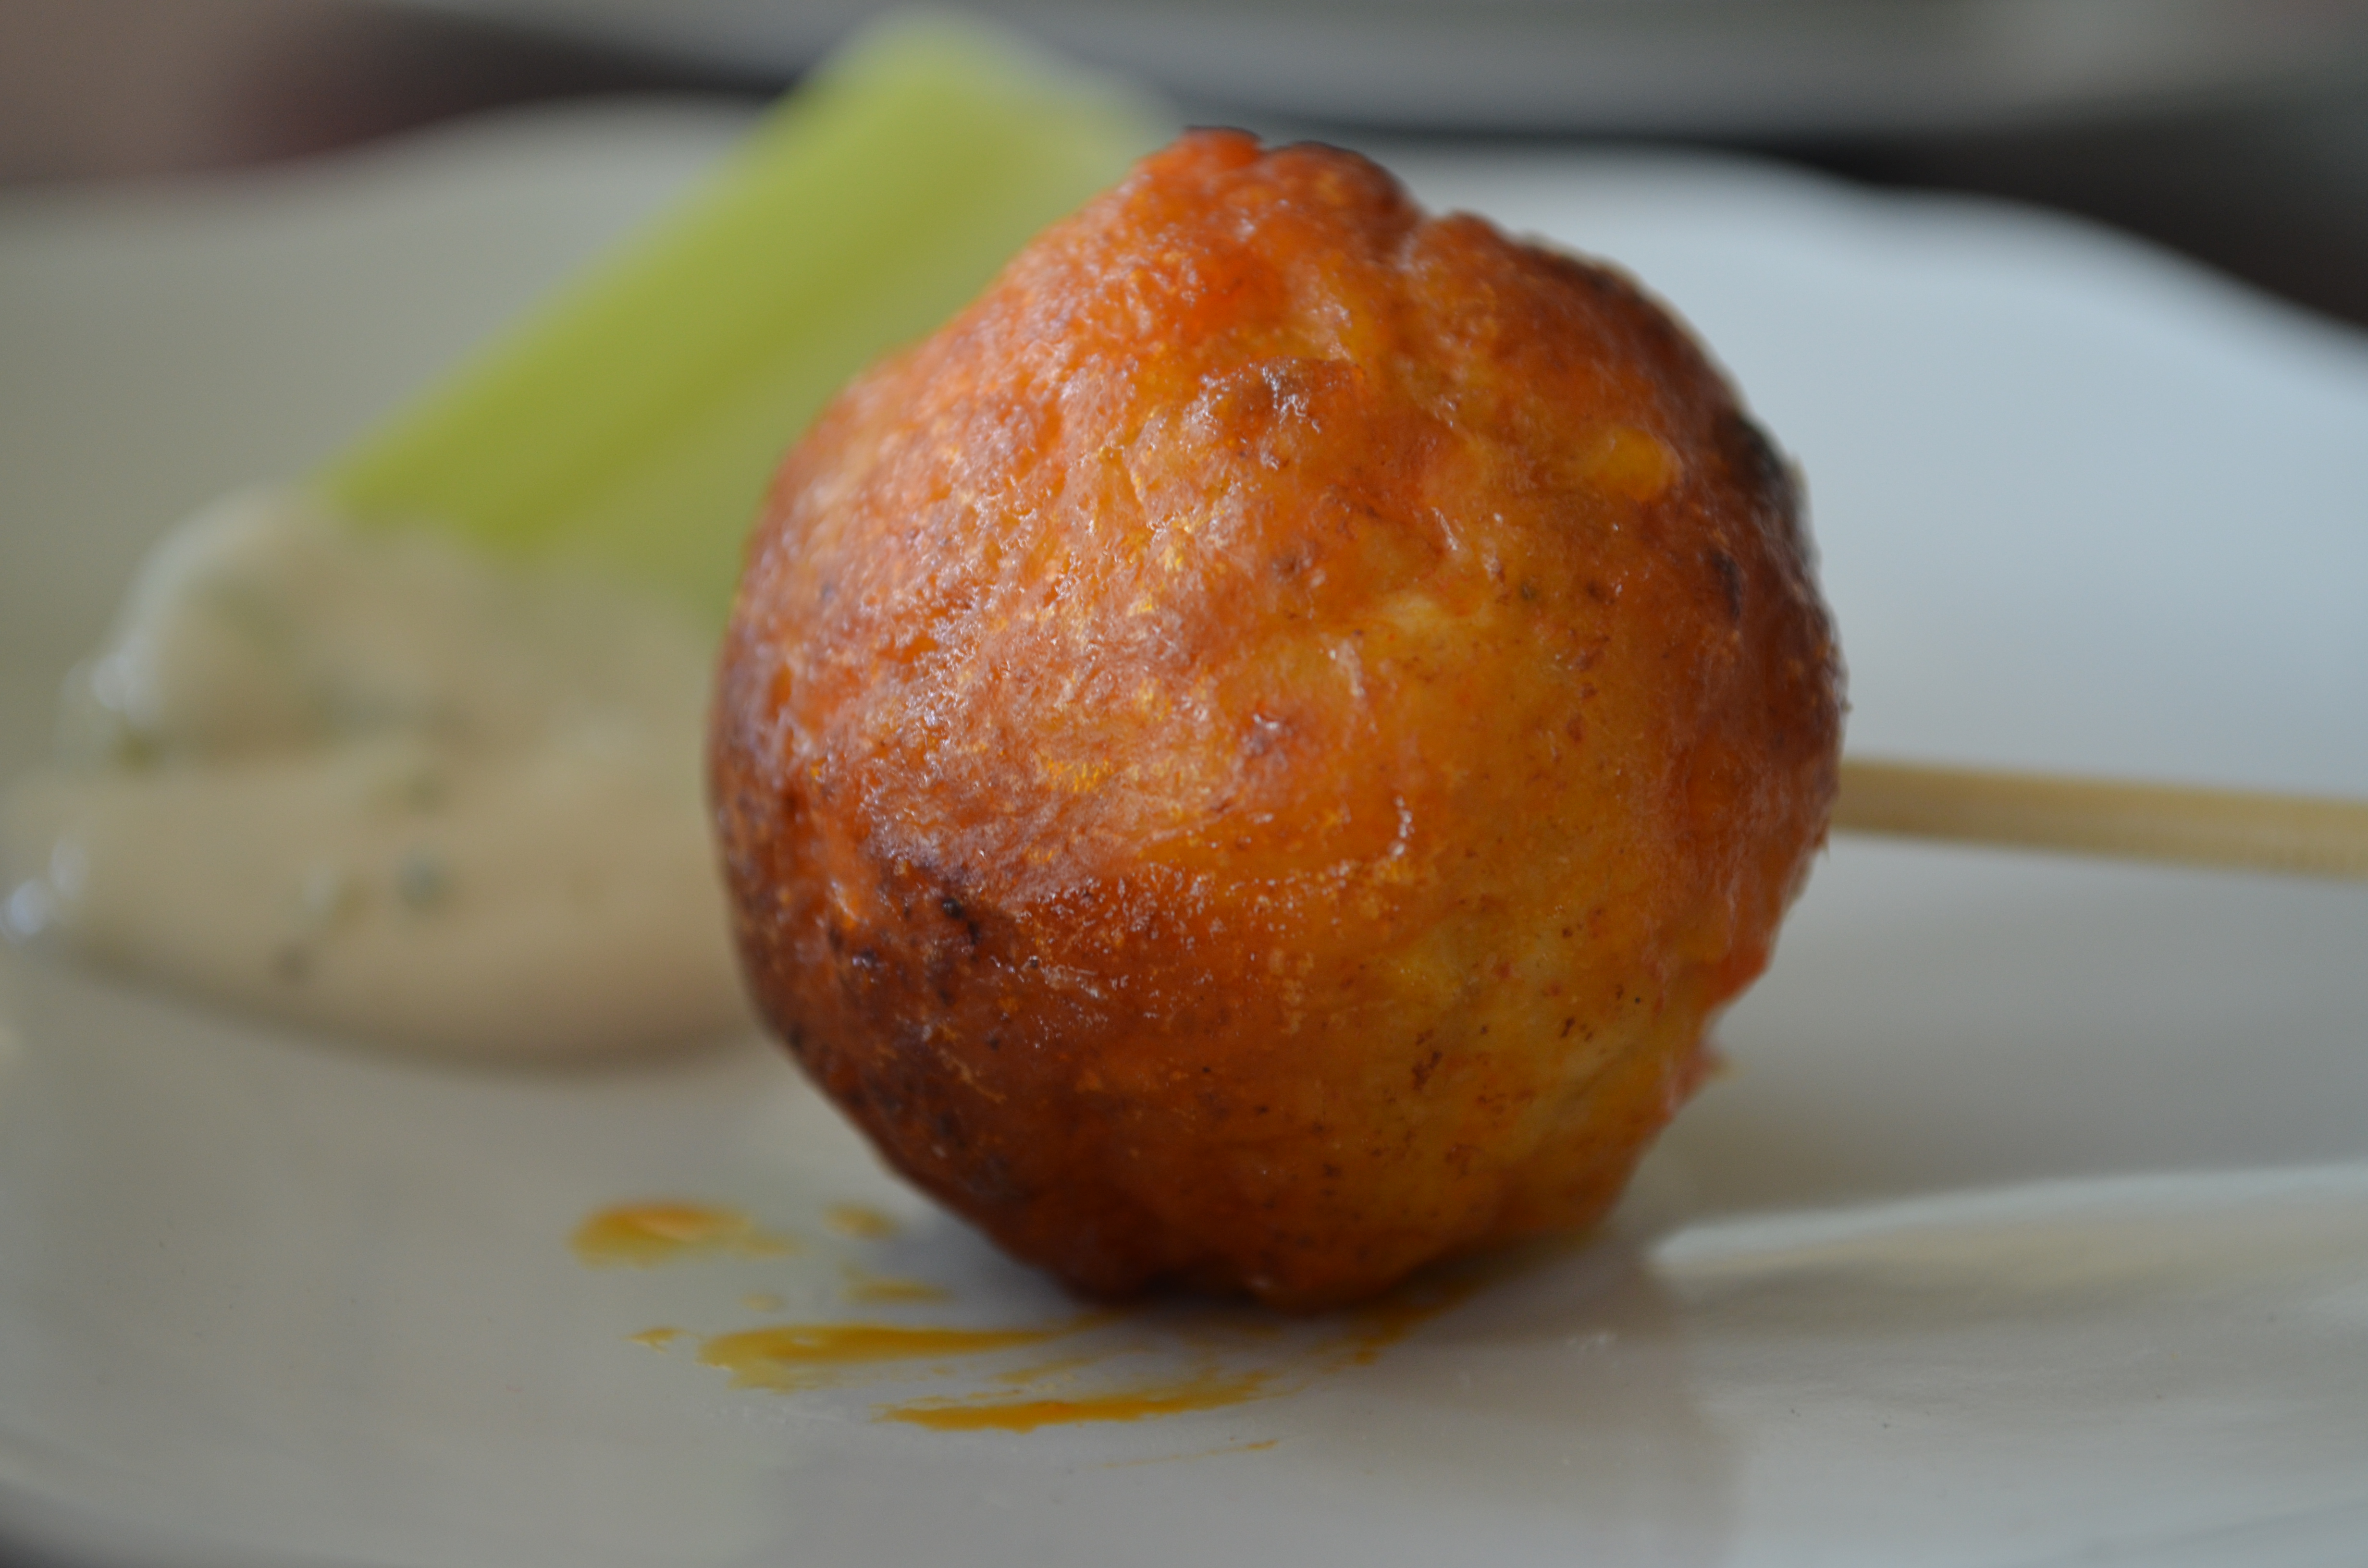
To assemble the pierogie, place a small amount of the potato mixture in the middle of a dough round. Place a chicken piece and a nugget of blue cheese in the center and fold dough over, sealing the edges with a little water, pressing firmly.

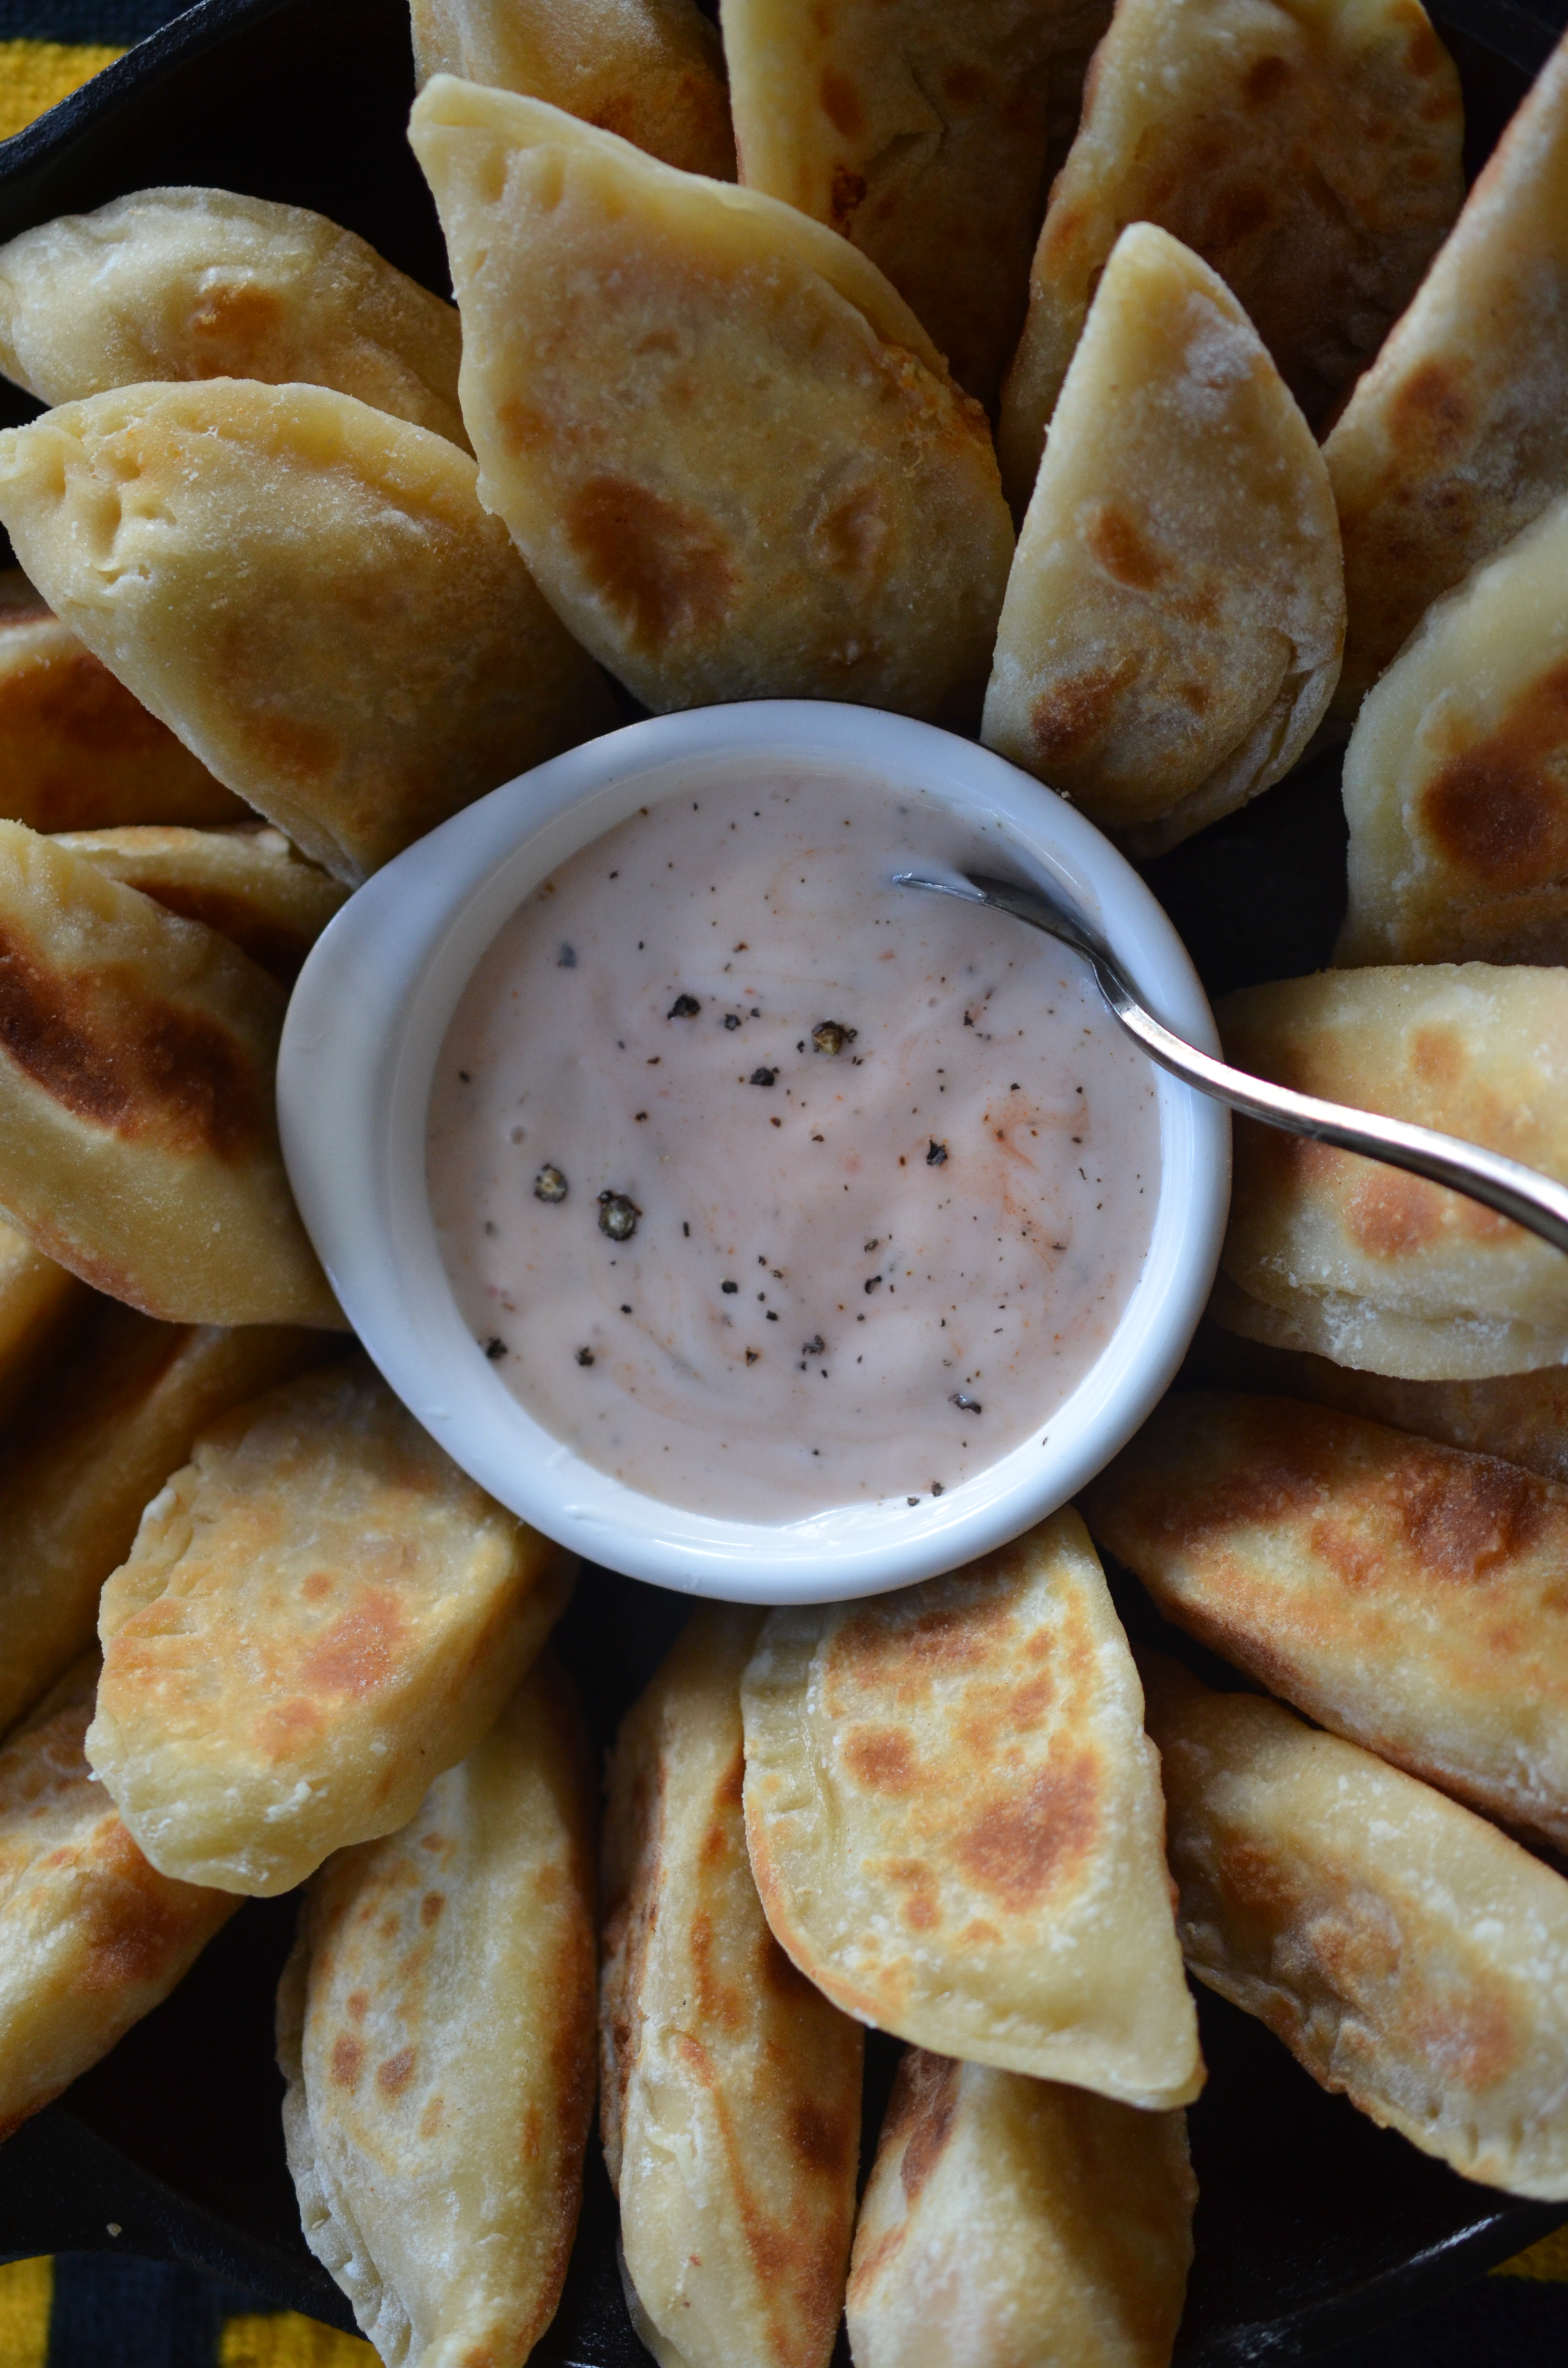
Once they are assembled you can either freeze for later or cook the pierogie right away. Frying them, rather than boiling, will retain the crispiness.

DSC_0807

Pierogies are such a fun, easy thing to make, the kids will love getting their hands dirty with them!

DSC_0826

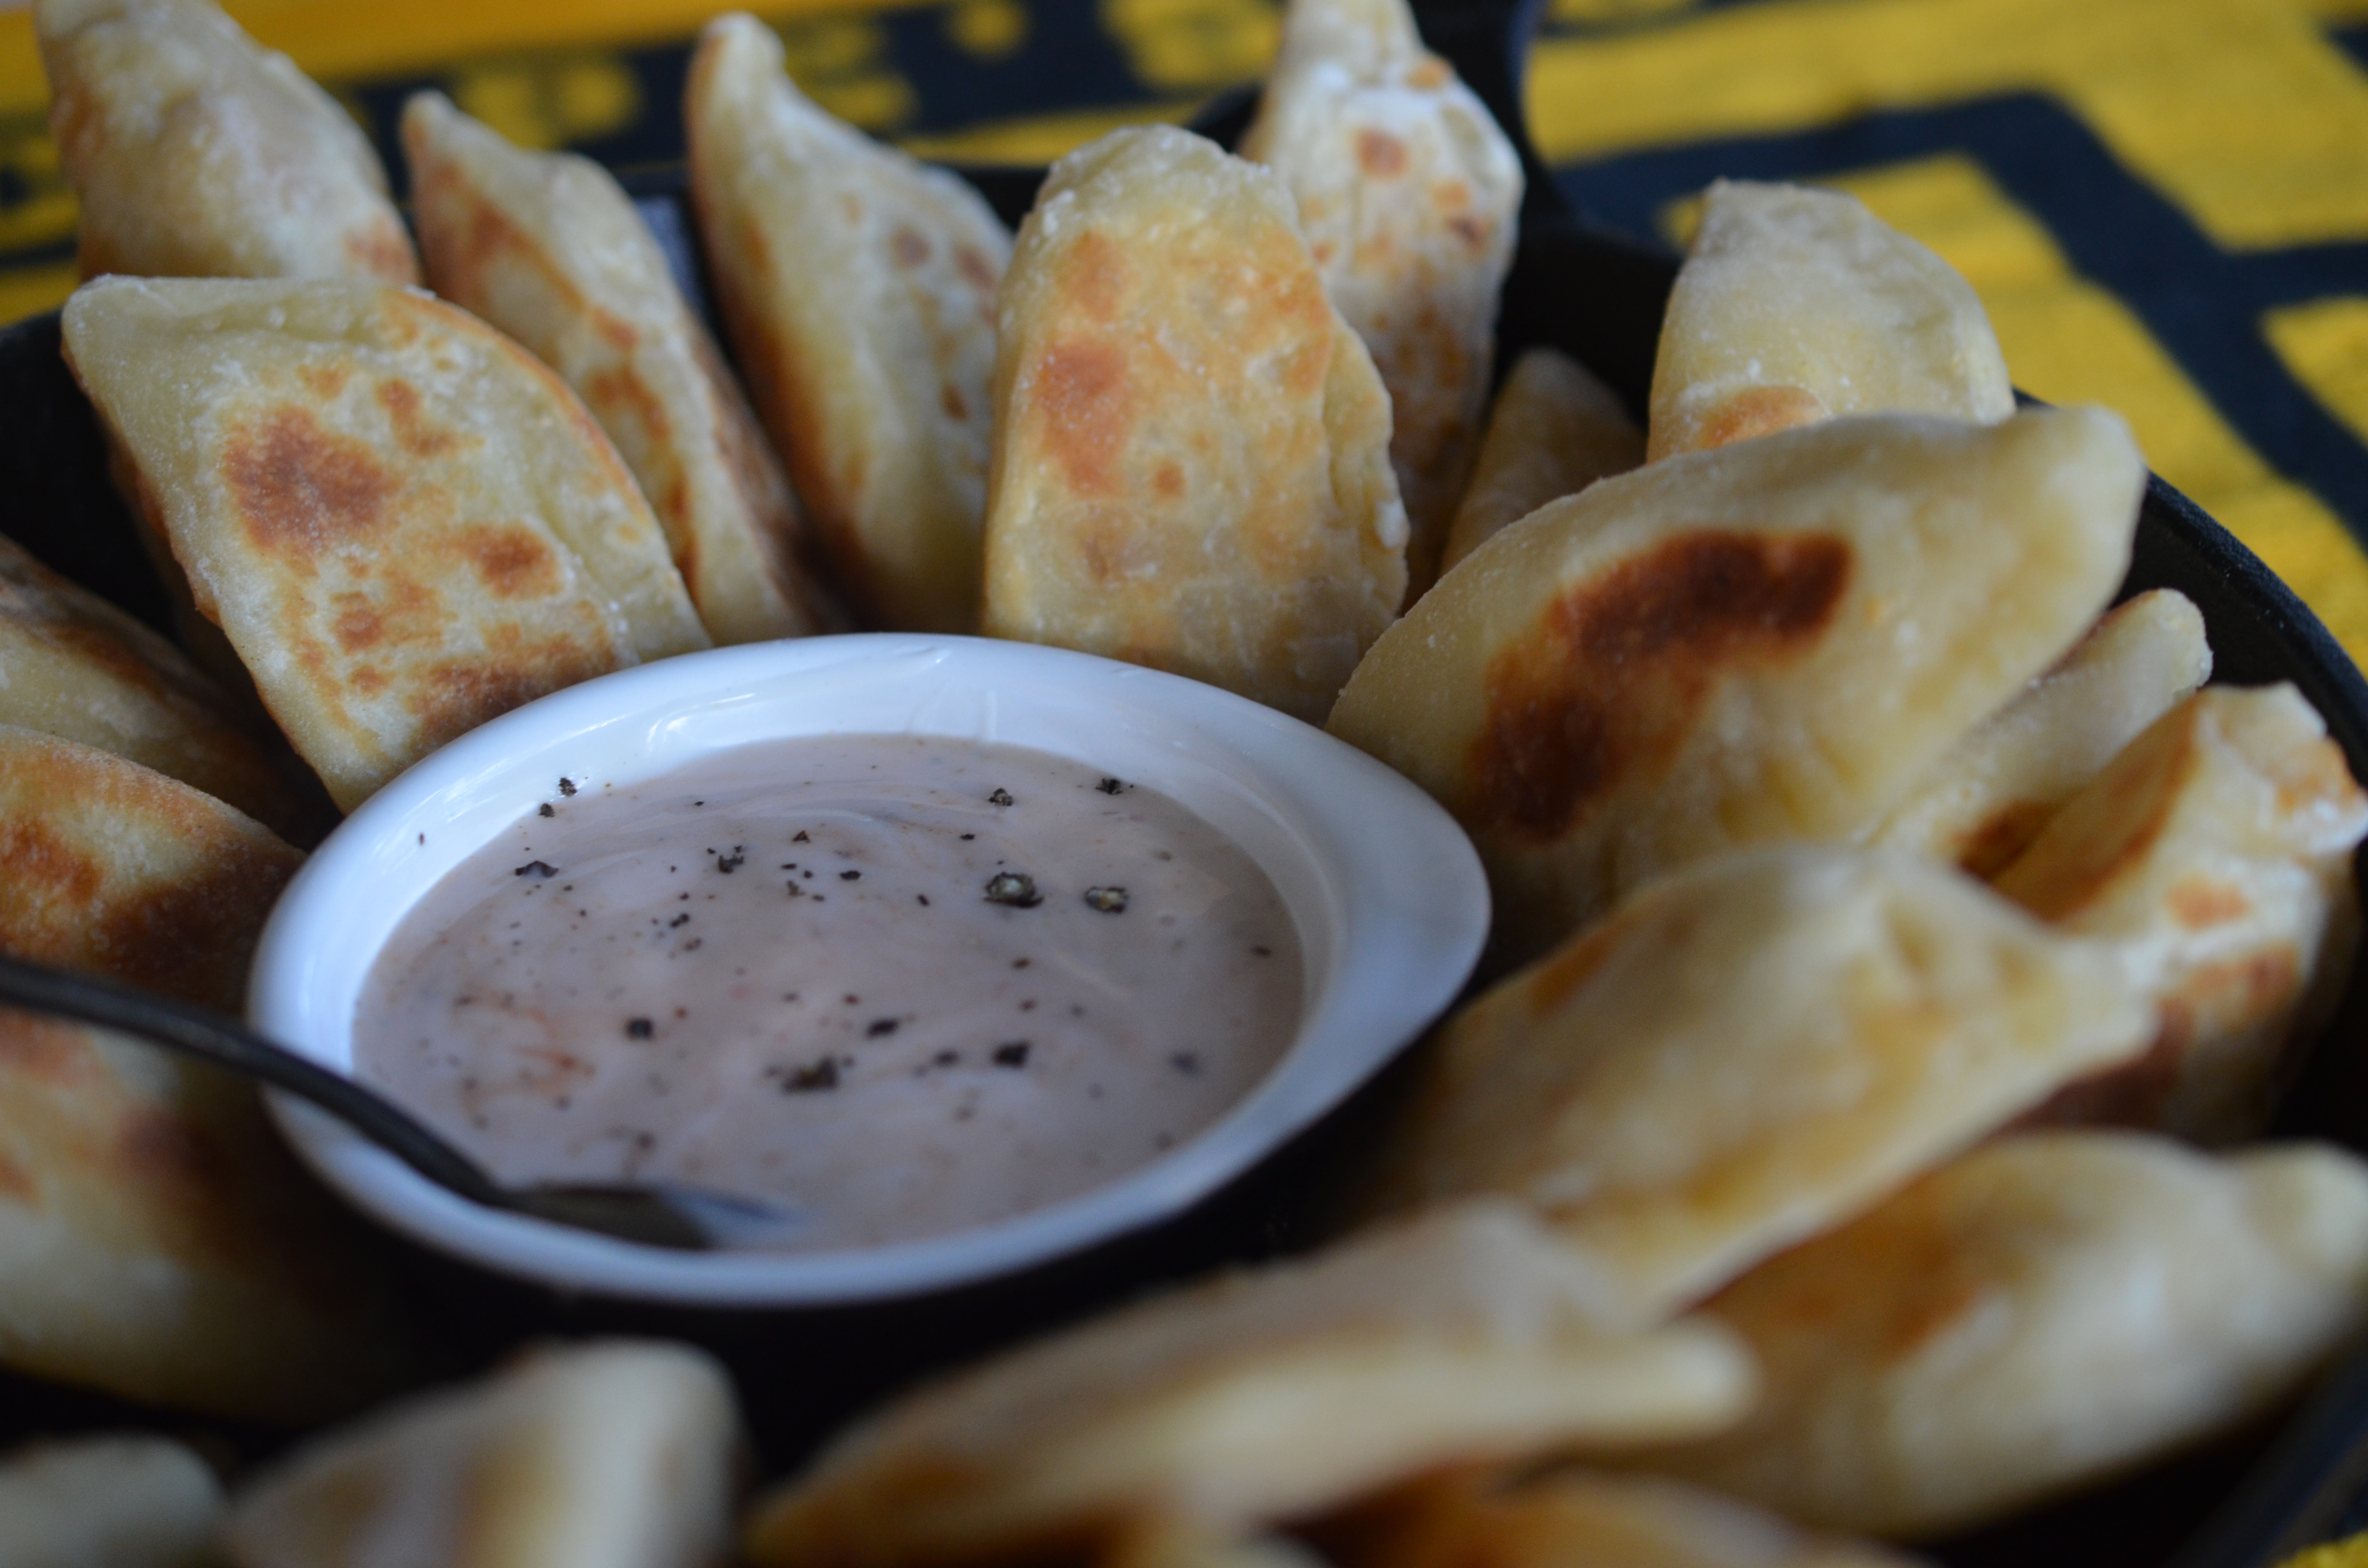
And more importantly our supportive, wonderful husbands will devour them!  Watch out Mrs. T!!

Advertisement

The Art of the Pizza Roll, Tailgate Chefs- Game On!

Game Day, Game Day, Game Day!!  College Football is Kicking Off!!  I believe in the Football/Tailgate Cuisine Movement, support it 100%!  I love the playfulness of the food, the comradery it inspires between guys and their grills, the artisanal care that nonchefs are putting towards the pop up tailgate table.  The craft direction is strong within this mouthwatering cuisine.  It is downright hard to find someone that does not have fond memories of tailgate food.

DSC_0713

Thank you Emily for the deliciousness, for the loving tenderness you put towards this football food recipe.

DSC_0671

Perfect Pizza Crust (if you’re in a jam, buy the premade dough in your grocery store)

  • 2 cups bread flour
  • 1 1/2 tsp. instant yeast
  • 1 tbsp. extra-virgin olive oil
  • 3/4 tsp. salt
  • 1 cup hot tap water

In a stand mixer with a dough hook attachment place the flour, yeast, and salt. Quickly mix together the dry ingredients.  Pour in the oil and hot tap water and stir for about 10 seconds. The dough should be wet enough to leave a little residue on the side of the bowl at this point but not so wet that it’s gooey. Adjust if needed with a little flour or tiny bit warm water. Knead for about 5 minutes until the dough is smooth and elastic. Dough should be tacky to the touch. Do not add any flour or water after the dough is done mixing.

In a deep oiled mixing bowl, place the dough ball and place plastic wrap or damp towel directly over the dough.  Allow to rise until doubled in size, I set mine outside in the warm air, but near a window, or even a warm oven will do. Once risen, punch dough to deflate it.

  • 1 cup Pizza Sauce
  • 1 ½ cup mozzarella cheese
  • 4 Tbsp. melted butter
  • 3/4 Tbsp. garlic bread seasoning

Make pizza crust according to directions and let raise once. After it has risen, turn it onto a counter sprayed with cooking spray and roll it out thin, in the shape of a rectangle. Spread sauce; you may only need 1/2-3/4 cup but you can use the rest for dipping after the rolls are cooked. Add cheese and start rolling the dough tightly in a neat line. When there’s about an inch of dough left, stop rolling and pull the edge up and over, pinching it closed.

DSC_0632

With a serrated knife, gently slice about 1-inch thick. Lay the rolls in a 13×9-inch baking pan, sprayed with cooking spray. You should get about 12 rolls out of the dough. Cover lightly and let the dough rise again until about doubled.

DSC_0652

Preheat oven to 375 degrees. Combine melted butter and garlic bread seasoning and brush over the tops of the rolls. Bake for about 17-20 minutes.

DSC_0680

Serve warm either plain or with extra pizza sauce for dipping.  Reheat any leftovers in the same fashion you would with leftover pizzas. Or if you are taking to the tailgate party, wrap them in a sheet of foil and warm them on a low heat grill.

DSC_0702

We are heading out to the Alabama and Virginia Tech game today and can’t wait to see what we find at the lot full of tailgate parties!! Roll Tide!

Breakfast Stuffed Biscuits- Alabama Biscuit King Copycat

Travel for our family often encompasses eating explorations, sure, history and local culture top the list too, but all of us can usually agree on getting to the locals only must eat store (eat-store, aka restaurant, coined by my nephew Sir Sully).  We recently dined our way thru a vacation in Lower Alabama.

PhotoGrid_1373727162049

Gi-Normous, ugly and heavenly filled mouthwatering, belly aching irresistible biscuits are not to be missed on your next trip to LA (lower Alabama).  And they are born and raised all within view of the curious diners.  We visited the home of these ugly treasures, called Biscuit King Cafe in Fairhope, Alabama felt like we stroke gold, and as mentioned above, a small belly ache from over indulgence.   This small family business has something going for sure.

PhotoGrid_1373727521206

After taking the first few bites the rest of meal was spent ogling what was going on in the kitchen.  When sheet pans went in the oven, how long until they came out.  What did the fillings look like, how did they stuff them.  We asked the ladies cooking a few questions, some of them laughing at us, in particular when we asked if any of the fillings were raw… “you caaan’t  put raw  food in a biscuit, thaaat’s just craaazy”.  Deep South stuffed biscuit etiquette explained…

DSC_0262

Happily we took enough away that I was able to recreate a similar recipe- Surely the Biscuit King reigns supreme, but until theirs and mine go head to head, I will stand by these are just as good!

DSC_0300

Ingredients Biscuit Filling

  • 6 ounces slice turkey or ham, julienned into strips
  • 6 eggs
  • ¼ cup milk
  • 1 tablespoon unsalted butter
  • 4 ounces shredded cheddar

Biscuit Dough

  • 4 cups all-purpose flour, plus more for dusting
  • 1 tablespoon plus 1 teaspoon baking powder
  • 1 teaspoon baking soda
  • 1 teaspoon salt
  • 1 teaspoon sugar
  • 2 sticks (1 cup) unsalted butter, cold, cut into small pieces
  • 1 3/4 cups buttermilk, plus more for brushing

Biscuit Topping

  • 2 tablespoons butter, melted
  • Sea salt

Directions

In a frying pan, over medium heat with a small amount of oil, sauté the meat until caramelized with golden color.  Remove the turkey from the pan and take the pan off the heat.  Whisk together the eggs and milk until frothy, and return the pan to the stove.  Over medium heat add the eggs to the sauté pan and cook until softly scrambled before removing from the heat.  Make sure not to overcook as there will be carry over cooking and reheat in the oven.  Add the tablespoon of butter to the eggs and mix until melted and incorporated.  Refrigerate until ready to assemble the biscuits.  Keep the eggs and the meat separate.  Be sure they are both cool before assembling as it will eliminate chance of overcooking the eggs.

DSC_0164DSC_0174

To make the biscuit dough:

In a large mixing bowl, whisk the flour, baking powder, baking soda, salt, and sugar together. Using a pastry blender or your hands, cut in the butter until the mixture resembles coarse crumbs with a few large clumps remaining.   The butter should be cold, and will leave some lumps.  If you prefer to use your hands be quick and make sure the butter is very cold so it doesn’t melt.  I like to use my hands so I can get the flour/butter mixture to crumb faster.

DSC_0178

Pour in the buttermilk and fold the flour until the liquid is incorporated.  The dough will stick together in a ball and be slightly tacky.  Do not overmix as this is when biscuits become rocks.  Allow the dough to sit for a few minutes before assembling the biscuits.

On a lightly floured surface, scoop out a half cup measure of dough and with floured fingers, gently pat the dough into a 6 inch circle.  The thickness should be about ¼ inch.  Repeat with another half cup portion of dough.

DSC_0211

To assemble and bake:

Preheat the oven to 375 degrees.

Spread a ½ cup of the chilled scrambled eggs over the surface of one biscuit disc.  Sprinkle a ¼ of the turkey/ham over the eggs and then follow with an ounce of shredded cheese.

DSC_0199

Gently lift the remaining disc and place on top of the egg and cheese filling.  Press the edges together and tuck the seam under the bottom of the disc.  Transfer the stuffed biscuit to a parchment lined baking sheet and brush with butter, followed with a sprinkle of sea salt.

DSC_0222

Repeat process three more times for a total of four stuffed biscuits.  Place each two inches apart, which may require using two baking sheets.  Bake at 375 for 40 minutes, rotating baking sheets half way.  The temperature of the center should reach 160 degrees.

DSC_0258

These can be held in a warming oven for about 30 minutes.  We had one leftover that we reheated in the microwave the following day which turned out was still pretty good.  Certainly best fresh from the oven, but I won’t be throwing out the one that doesn’t get eaten.

DSC_0282

It is a state that does many things right – Perfect color of Crimson, rows of pecan fields, perfectly drawn hounds tooth, National Championships, Silver Queen Corn, gardenia scented streets, and now… Stuffed biscuits.

DSC_0289

Roll tide, Roll Biscuits!

Buffalo Chicken Balls

March Madness is screaming for its own version of tailgate food.  What a better answer then some balls!  Let’s face it; wings go with sports, all sports, they’re almost a food group.  It’s a rite of passage, watch a game and eat wings (and of course drink beer).  As with all superior food groups, chefs strive for reinterpretations and tributes to the pedestaled dish.

DSC_0106

These are surely a way to a man’s heart, and completely loved by the fussy woman that dislikes gnawing on bones.  I do have a few girl friends that hate wings because of the tiny veins found in bones and detest the dirty finger result of eating wings.  My answer- Buffalo Chicken Meatballs.

DSC_0084

Ingredients

  • 1 pound ground chicken
  • 2 ½ teaspoon buffalo wing seasoning
  • ½ teaspoon kosher salt
  • 1 egg
  • 2 tablespoon breadcrumbs
  • ¼ cup blue cheese crumbles

 Seasoned Flour

  • ¼ cup all-purpose flour
  • ¼ teaspoon buffalo wing seasoning
  • ¼ teaspoon kosher salt
  • ¼ teaspoon onion powder
  •  ¼ cup favorite buffalo sauce

*Beer

Directions

Open a beer.

Combine ground chicken, seasoning, salt, egg and breadcrumbs thoroughly.  Place the mixture in the freezer for a few minutes so the mix becomes easier to work with.  Use a small scoop to make between 14- 16 balls, the size of a ping pong ball and place on a cookie sheet.  With the back of the scoop or a tip of a spoon form a well in each ball.   Fill the wells with roughly a ¼ teaspoon of blue cheese.  Drink your beer. Gently reform the chicken into a rounded sphere, focusing on keeping the blue cheese in the center.   Return the balls to the freezer for about 15 minutes to set the shape.

wells

Preheat the oven to 350.  Combine the seasoned flour ingredients in a small bowl and place a sauté pan on the stove over medium high heat.  If you have an Aebleskiver pan use this- I love using mine for meatballs as it gives a beautiful sear all around the meatball. Take a sip of beer.  Add a tablespoon of oil to the sauté pan, or a few drops of oil to the Aebleskiver wells, while oil heats roll the meatballs in the seasoned flour coating them completely.  Place the balls in a hot pan and sear the meatballs evenly until the outside is well browned.

DSC_0069DSC_0071

Swig your beer.  In another small bowl put 2 tablespoons of buffalo sauce.  Remove the meatballs from the sauté pan and place into the buffalo sauce, rolling them around to coat evenly.  Place the balls on a baking sheet and pop into the oven for 10-12 minutes until the internal temperature reaches 165 degrees.  Remove from oven and serve.   This makes enough for 2-5 friends, depending upon the size of the appetite and the other dishes on the table!

DSC_0097

Serve with blue cheese dressing, ranch, celery, carrots or whatever you love with wings (beer).

DSC_0087

March Madness, Buffalo Chicken Balls, Clean Fingers, Happy Wife and Beer- Husbands delight!!

DSC_0128

Happy St. Patricks Day, and Happy Selection Sunday- GO ACC & SEC!!!!!!

South Carolina Deep Dish Pizza

This is a dish from my brother, Sir Ryan’s South Carolina kitchen that has been talked about for a few years.  Over time he has worked on convincing me to give it a try, and though it sounded fabulous and I wanted to make it, it just never happened.  While Ryan and his family were visiting over the Christmas holiday he put one together and proved that this pie was all that.  We couldn’t resist giving it another try ourselves a few weeks later and for once the tables turned and I found myself calling the novice chef brother of mine for advice.

DSC_0188

Make this as simple or complicated as you like, buy premade dough or make it fresh yourself, buy pizza sauce or create your own.  For me this is a fast, decadent meal, and I prefer to keep it that way.  Maybe if I had some Jersey tomatoes available I would make my own sauce.

DSC_0085

  • 3 tablespoons olive oil
  • 1 ½ ounce grated parmesan cheese
  • 1# Pizza Dough, make it fresh or buy premade from the market
  • 10 ounces pizza sauce
  • 2 cups shredded mozzarella
  • 2 ¼ ounces turkey pepperoni
  • 4 ½ ounces (1 cup) cooked turkey sausage crumbles
  • 1 green pepper, small diced
  • 1 medium yellow onion, small diced
  • 1 tablespoon chopped garlic
  • 2 tablespoons julienned basil

DSC_0098DSC_0104

Preheat oven to 350.  Sauté the garlic, peppers, onions and basil until fragrant and set aside. Gather the remaining mise en place and 9” spring form pan, or another deep round pan you have in your kitchen arsenal.  Coat the pan with olive oil and dust the parmesan cheese evenly around the surface.  Place the dough ball in the pan and push the bulk of the dough towards the edges.  Start the layering process with a sprinkling of shredded mozzarella, followed by the pizza sauce and then the meat and vegetable toppings.  Apply pressure to the toppings, causing the dough to move towards the edge and grow up the pan.  Top with cheese and layer in the same order, each time pushing down to move the dough up the sides of the pan.  End the layering with a healthy amount of cheese and a dusting of parmesan.  Bake for 60- 70 minutes, getting the top to be bubbly, golden, mouthwatering perfect.

DSC_0134

This is a pretty massive deep dish, certainly enough for 4 filling servings.  After removing it from the pan (the spring form pan makes the removal so easy), the pie just looks sinfully irresistible.

DSC_0207

Easy for a big game, a Friday family night or even a hump-day perk.

Just a reminder that you can learn from anyone- Thanks Sir Ryan for treating us to this amazing pie!

Buffalo Bacon Chips

I’ve always like to step out of my comfort zone, to avoid what is safe and expected, and to try never to be a stick in the mud.   In an effort to do so, and in appreciation of all the Bacon Fans that I am surrounded by, at home, at work, on Twitter and Facebook, ect. I like to try out new bacon involved recipes, though I don’t typically consume it.  So mostly for my husband and my brother, and anyone else passionately dedicated to both  bacon and Buffalo Chicken Wings, I present you with  Buffalo Bacon Chips.

DSC_0017

This pretty simple- not much of a recipe, just some directions.

  • Center Cut Thick Sliced Bacon (amount is up to you, and the appetite of your guests)
  • Flour
  • Buffalo Sauce

DSC_0001

Preheat the oven to 400.  Place rimmed baking sheet in oven to preheat. Cut bacon slices into 1/4’s and gently dredge them thru flour.  Arrange on the preheated baking sheet and return to oven for 6 minutes.   After the 6 minutes, remove the baking sheet from the oven and flip bacon to opposite sides.  Return to the oven and continue cooking for about 6 minutes, or until crisp.  Place the buffalo sauce in a shallow bowl.  Carefully pull out the bacon from the oven and with tongs dip the chips into the buffalo sauce.  Arrange the bacon chips on a plate and serve immediately.

DSC_0056

Sir Wes and I did go back and forth over the size to cut the bacon, he of course liked the bigger, longer cuts (cutting a slice in 1/3s) but I gravitated to the more squared off chip.  I also tried to consider that one may not be able to have just one….  thinking of your belt holes Honey…

DSC_0020

A great Superbowl snack- super easy and possibly the most exciting part of the 2013 Superbowl (aside from the commercials possibly).

Enjoy and Happy Pigging out!

Raspberry Lemon “Pop Tarts”….From Scratch!!!!!!!!

Homemade Raspberry Lemon "Poptarts"

WHAT???????  Homemade Pop Tarts?  Awesome… That was our reaction when we passed by the bin that housed these nifty cutters at William Sonoma this summer.   We spent the rest of the evening deliberating which flavor we loved best, and what flavors would be fun to try.  The good old brown sugar was a contender for sure, and smores too.  Sir Wes wants to see a savory play on Quiche and he tells me, “please add bacon”!  This pastry cutter is a childhood throwback for sure, but how can you go wrong with a “Poptart”?

While I have plenty of pie crust and pastry dough recipes, I like to consider the recipe given with the product.   With the logic that the company is the expert of their product, one would assume, the recipe they provide is a good one.  I adapt the method to suit my kitchen equipment and the flavors to fit my preferences.

The following recipe was adapted from William Sonoma.

The dough mis en place!

Ingredients:

  • 2 1/2 cups all-purpose flour
  • 1 tsp. salt
  • 2 Tbs. granulated sugar
  • 16 Tbs. (2 sticks) cold unsalted butter, cut into 1/2-inch dice
  • 6 to 8 Tbs. ice water
  • 1/2 cup raspberry jam 
  • 1 egg, beaten with 1 tsp. water
  • 1 1/2 cups confectioners’ sugar
  • Juice of 1 lemon
  • Colored sprinkles

The butter is icy cold!

Directions:

In a mixing bowl, stir together the flour, salt and granulated sugar until combined. Add the butter and crumble with hands until the mixture resembles coarse meal. Add 6 Tbs. of the ice water and mix again with hands. The dough should hold together when squeezed with your fingers but should not be sticky. If it is crumbly, add more water 1 tsp. at a time, mixing after each addition. Turn the dough out onto a work surface, divide in half and shape each half into a disk. Wrap the disks separately in plastic wrap and refrigerate for at least 2 hours or up to overnight. 


Hand mixing is a great way to learn about dough consistency!

The desired cornmeal consistency!

Dough discs, ready for refrigeration.

Line 2 baking sheets with parchment paper. On a lightly floured work surface, roll out 1 dough disc into a rectangle 1/8 inch thick. Using the outer ring of a toaster pastry press, cut out 8 pastries, rerolling the scraps as needed. Using a small offset spatula or a butter knife, spread 1 Tbs. of the jam onto each of 4 pieces of dough, leaving a 1/2-inch border.  Brush the edges with the beaten egg mixture. Top each with a plain piece of dough. Place the 2-piece press on top and press the inner ring down to seal the edges. Remove the mold. Transfer the pastries to a prepared baking sheet and refrigerate for 30 minutes. Repeat with the remaining dough disc.

Flour coats the dough, the surface and the rolling-pin!

Dough is rolled!

Dough is cut!

Filled, Topped and Pressed!

Position 1 rack in the upper third and 1 rack in the lower third of an oven. Preheat the oven to 350°F.

Bake the toaster pastries until golden, about 30 minutes, reversing the positions of the baking sheets on the racks and rotating them from front to back halfway through the baking time. Let the pastries cool on the baking sheets for 10 minutes, then transfer the pastries to wire racks and let cool completely.

Golden brown, fresh out of the oven!

In a bowl, stir together the confectioners’ sugar and lemon juice until well combined. Using a spoon, lightly drizzle the icing onto the toaster pastries and shake sprinkles over top. Let the icing harden completely before serving. Makes 8 toaster pastries.

Homemade Raspberry Lemon "Poptarts"

I think these turned out perfectly, the dough was perfect.  I put them in the toaster oven the next morning to warm to serve.  I see many warm “Pop Tarts” in our future!  Chocolate Hazelnut, Heirloom Apples, Pumpkin Latte, ….plenty of options!

The Story of Seaside, Florida and a Food Lover

We just arrived home from a week spent on the Emerald Coast of Florida.  The weather was delightful, lazy days on the beach, friends and family, cocktails at sunset, early morning outings, just plain old R & R!  We had heard about the town of Seaside, I even had been there briefly years ago after the Truman Show had popularized it, but when we arrived we were super surprised about the culinary mind trip we were going to go on!  We spent hours eyeballing restaurants menus, small markets, locally made pickles and jams, tasted butters and yogurt creamed a short trip away; we were in heaven.  Like the way the town of Seaside was established, with the focus on community,  the  food scene certainly practices this as well.  Any foodie visitor to the Emerald Coast should block a few hours for this gastrofantastic town!  Needless to say we came home inspired!!

Small town of Seaside- The Farmer's Market

Fresh NW Florida Local Vegetables- Such a difference in flavor

Organic Tea Leaves- We were able to make our own blends, fun for tea's, marinades, sweets!!

Fresh Jams and Eggs- We took some back to the house and had an amazing breakfast!

Farmers Market Poster- I tried to steal this but thought that might not fly in Seaside!

Great Salads- We found our lunch on the beach #nomnom

Stalks of sweet corn- They were picked the afternoon before!

Fresh Breads- This bakery uses all organic, local ingredients. She baked the breads the day before, they were so good. I went to the local creamery stand and go some of the fresh butter as my bread baking interest was sparked again!

Local Honey- Made an hour down the road, he had Tupelo, Wild Flower and Bay Leaf. Great example of buying direct from the farmer as our purchase came with a quick lesson on the state of honey bees, as well as a taste test of the different types of honey! Awesome!

The Modica Market- A great store, we spent an hour looking at all the specialty local items.

The Modica Market Bakery- Then I spent an hour trying to decide which treat to have- 🙂

Modica Market- Chefs Paradise

Florida Made Cheese- I may not be in the know, but I don't think we have to many cheese artisans in Florida, needless to say I was thrilled to find this tasty cheese!! WOO HOO!!

Local Support- The Community of Seaside is dedicated and built around community. The restaurants, markets and chefs follow suit.

Lady Bird Hot Sauces- The Pink Grapefruit Sauce was awesome- soooo good! Double Win for the ASPCA involvement!

Microgreens! The shoppers in Seaside eat well!!

House Pickled Backyard Goods- I really need to learn to "can", there is so much opportunity! Look for canned goods coming soon 🙂

Ping Tung Heirloom Eggplants! These are awesome, the skin is so tender, the seeds are not bitter - Perfect for Baba Ganoush!

Pickle Stand- A ton of different pickles, amongst other many items 🙂

Seaside CSA Garden- This was awesome, very youth oriented, which instills in the kiddo's that important issues can be fun!

Key Lime Pie on a Stick- Can you ever go wrong with pie on a stick?

Food Trucks of Seaside

Barefoot BBQ Food Truck- Sir Wes could not resist, 2 thumbs up!

The Melt Down, Grilled Cheese Food Truck- I spent my time over here, I am a sucker for fancy schmancy grilled cheeses!

Wild Bills Beach Dogs Food Truck-"If you can think it, We will do it"

Dear Seaside,

We are fat and happy- Thanks for the good times, we will see you soon!!!

The Piggo’s

Preserved Cherries- Small Effort, Huge WOW!

Preserving Cherries

Seems like I couldn’t get away from cherries last weekend we dined at a restaurant with a great fresh cherry cheesecake it had a chocolate almond crust Sir Wes kept saying, LORD this is good!  Then I read a blog over at A Cook Walks Into A Bar, who was making homemade Maraschino cherries!!  What???  Who knew??  Not sure why I never thought about fresh made…. just goes to show you, there is always something new to discover!

And then there were Acerola Cherries at the farmers market the next day- Awesome!  Because we were leaving for a family vacation this week, I was a bit limited on time, could not get to the liquor store for the traditional liquor needed for the maraschinos, next time!!  So I used what I had in the pantry- no need to get caught up in recipes, we just make it work!!

Acerola Cherries

  • 1 pound cherries, seeded (up to you if you want to or not, but I plan to serve them in drinks, and I don’t want to have to worry about seed spitting)
  • ½ cup water
  • ½ cup sugar
  • 1 cup cherry brandy
  • 1 cup brandy
  • 1 tablespoon whole coriander
  • 1 tablespoon whole black pepper
  • Juice of ½ a lemon
  • Couple slices of orange peel
  • Couple slices of lemon peel
  • 2 stems of oregano (had some in the garden, thyme would be nice too, just to add that earthy flavor)

I put all the ingredients together in a leak proof container and turned end over end to mix everything up.  They will need about two weeks before we dive in to them, and will last 6 months.  Just be sure to stir them up every few days.  This is a GREAT treat for your cocktail parties coming thru the summer and into the fall- ummm, I can see tailgate parties with these fancy schmancy treats….Awesome!  Small effort, Huge WOW!

Preserving Cherries

Lemon Tarragon filled Almond Flour Shortbread Cookies

Summer Goodness!!!

These cookies are great, buttered goodness.  They are a bit on the crumbly side with the almond flour, but it adds such a great texture.  The tarragon is perfect with lemon, and the healthier cookie.

These cookies are complete summer

Almond Shortbread:

1/2 cup (1 stick) unsalted butter, room temperature (With
Shortbread cookies, I think it is a time to splurge on butter)

1/4 cup granulated white sugar

1/2 teaspoon pure vanilla extract

2/3 cup whole wheat flour

1/3 cup almond flour (almond meal)

2 tablespoons cornstarch

1/8 teaspoon kosher salt

In the bowl of your electric mixer, beat the butter and sugar  until smooth and creamy. Beat in the vanilla extract. In a separate bowl,  whisk together the whole wheat flour, almond flour, cornstarch and salt.  Add this mixture to the butter and sugar and beat just until incorporated.

Scrape batter out onto a sheet of parchment and form a log.  Refrigerate for one hour, and then slice into ¼ inch slices and place on a cookie sheet.  I made a well in the center of each cookie, using the screw top bottle. Put the cookie sheet back in the refrigerator to cool back down for 10 -15 minutes.

Preheat the oven to 300, and slide the cookies into the preheated oven.  Bake them for about 35-45 minutes, until they are golden brown.  Once they come out of the oven I used the screw top again to reform the well.  Allow cookies to cool completely before filling, I would also recommend filling the cookies with the lemon filling the same day you will serve them which keeps the cookie from losing its great crumble texture.  I used some toasted almonds as garnish on some cookies and powdered sugar on others.

Creamed butter and sugar

Use what you have, you don't always need some fancy tool.

Evenly toasted, fresh out of the oven

Lemon Tarragon Filling:

Mis en place for the lemon filling

Juice & grated zest of 1 lemon

1/2 cup sugar

1 eggs

1 tablespoon butter

2 teaspoons tarragon, chopped fine

Combine all ingredients in a double boiler on stove. Simmer until thickened stirring constantly, about 15 minutes or 140 degrees.  Remove from heat and stir in the tarragon,
put in the refrigerator to chill.

Stir, stir, stir

It was so good, I was looking for things to spread it on!

Ready for the finishing touches!