Farm Berry Southern Cobbler- #AlabamaBakingProblems

We took a trip last week to Alabama to visit Sir Wes’s family.  Very often when one goes home to the place they grew up, to a mom that cooked every Sunday thru Saturday for them thru their childhood, one would expect to get some of that home cooking.  In fact, we did get a belly full of a southern mother prepared feast, but did miss one key, controversial dessert- The Farm Berry Southern Cobbler.

DSC_0215

Thru our years of marriage, Sir Wes has talked and talked about the cobblers that were made every weekend by his Mom or one of her 4 sisters.  He stated,  “there is not a better dessert then the Farm Berry Southern Cobbler that my Mom and my Aunts made”.   And after these years of marriage, on our many trips to his mother’s home, I would have hoped to try it.  Turns out, it isn’t that simple.

DSC_0712

We go to the his Aunt Alice’s, the family farm as I call it, and pick the blueberries from the trees.  I am always sure to pick enough to bring back to Florida with us to put in the freezer.   Then either his mom or Sir Wes would get to making this family heirloom recipe.  And then we would sit and wonder what went wrong.  I think they are cursed.

DSC_0707DSC_0703

This last visit, I sat his mom down and asked her to tell me the recipe; she even consulted with her sister to double check.   I knew that Wes’s failure could be attributed to the fact that he ignores directions and amounts when following recipes and does what he wants, but his mom is such a fabulous cook so I wasn’t sure where her mishaps came from.

DSC_0726

Here are my notes:

Ingredients

  • ½ cup or 1 stick butter
  • 1 cup self-rising flour, make sure to use self rising- this might have been where Wes went wrong
  • 1 cup sugar, add a little more if you’re not going to serve any whip or ice cream with it.  Maybe a ¼ cup.
  • 1 cup milk, you can use any type, of course whole milk will taste the best with the higher fat content, but skim will work too.
  • 3 cups berries, preferably from Aunt Alice’s Farm

Directions

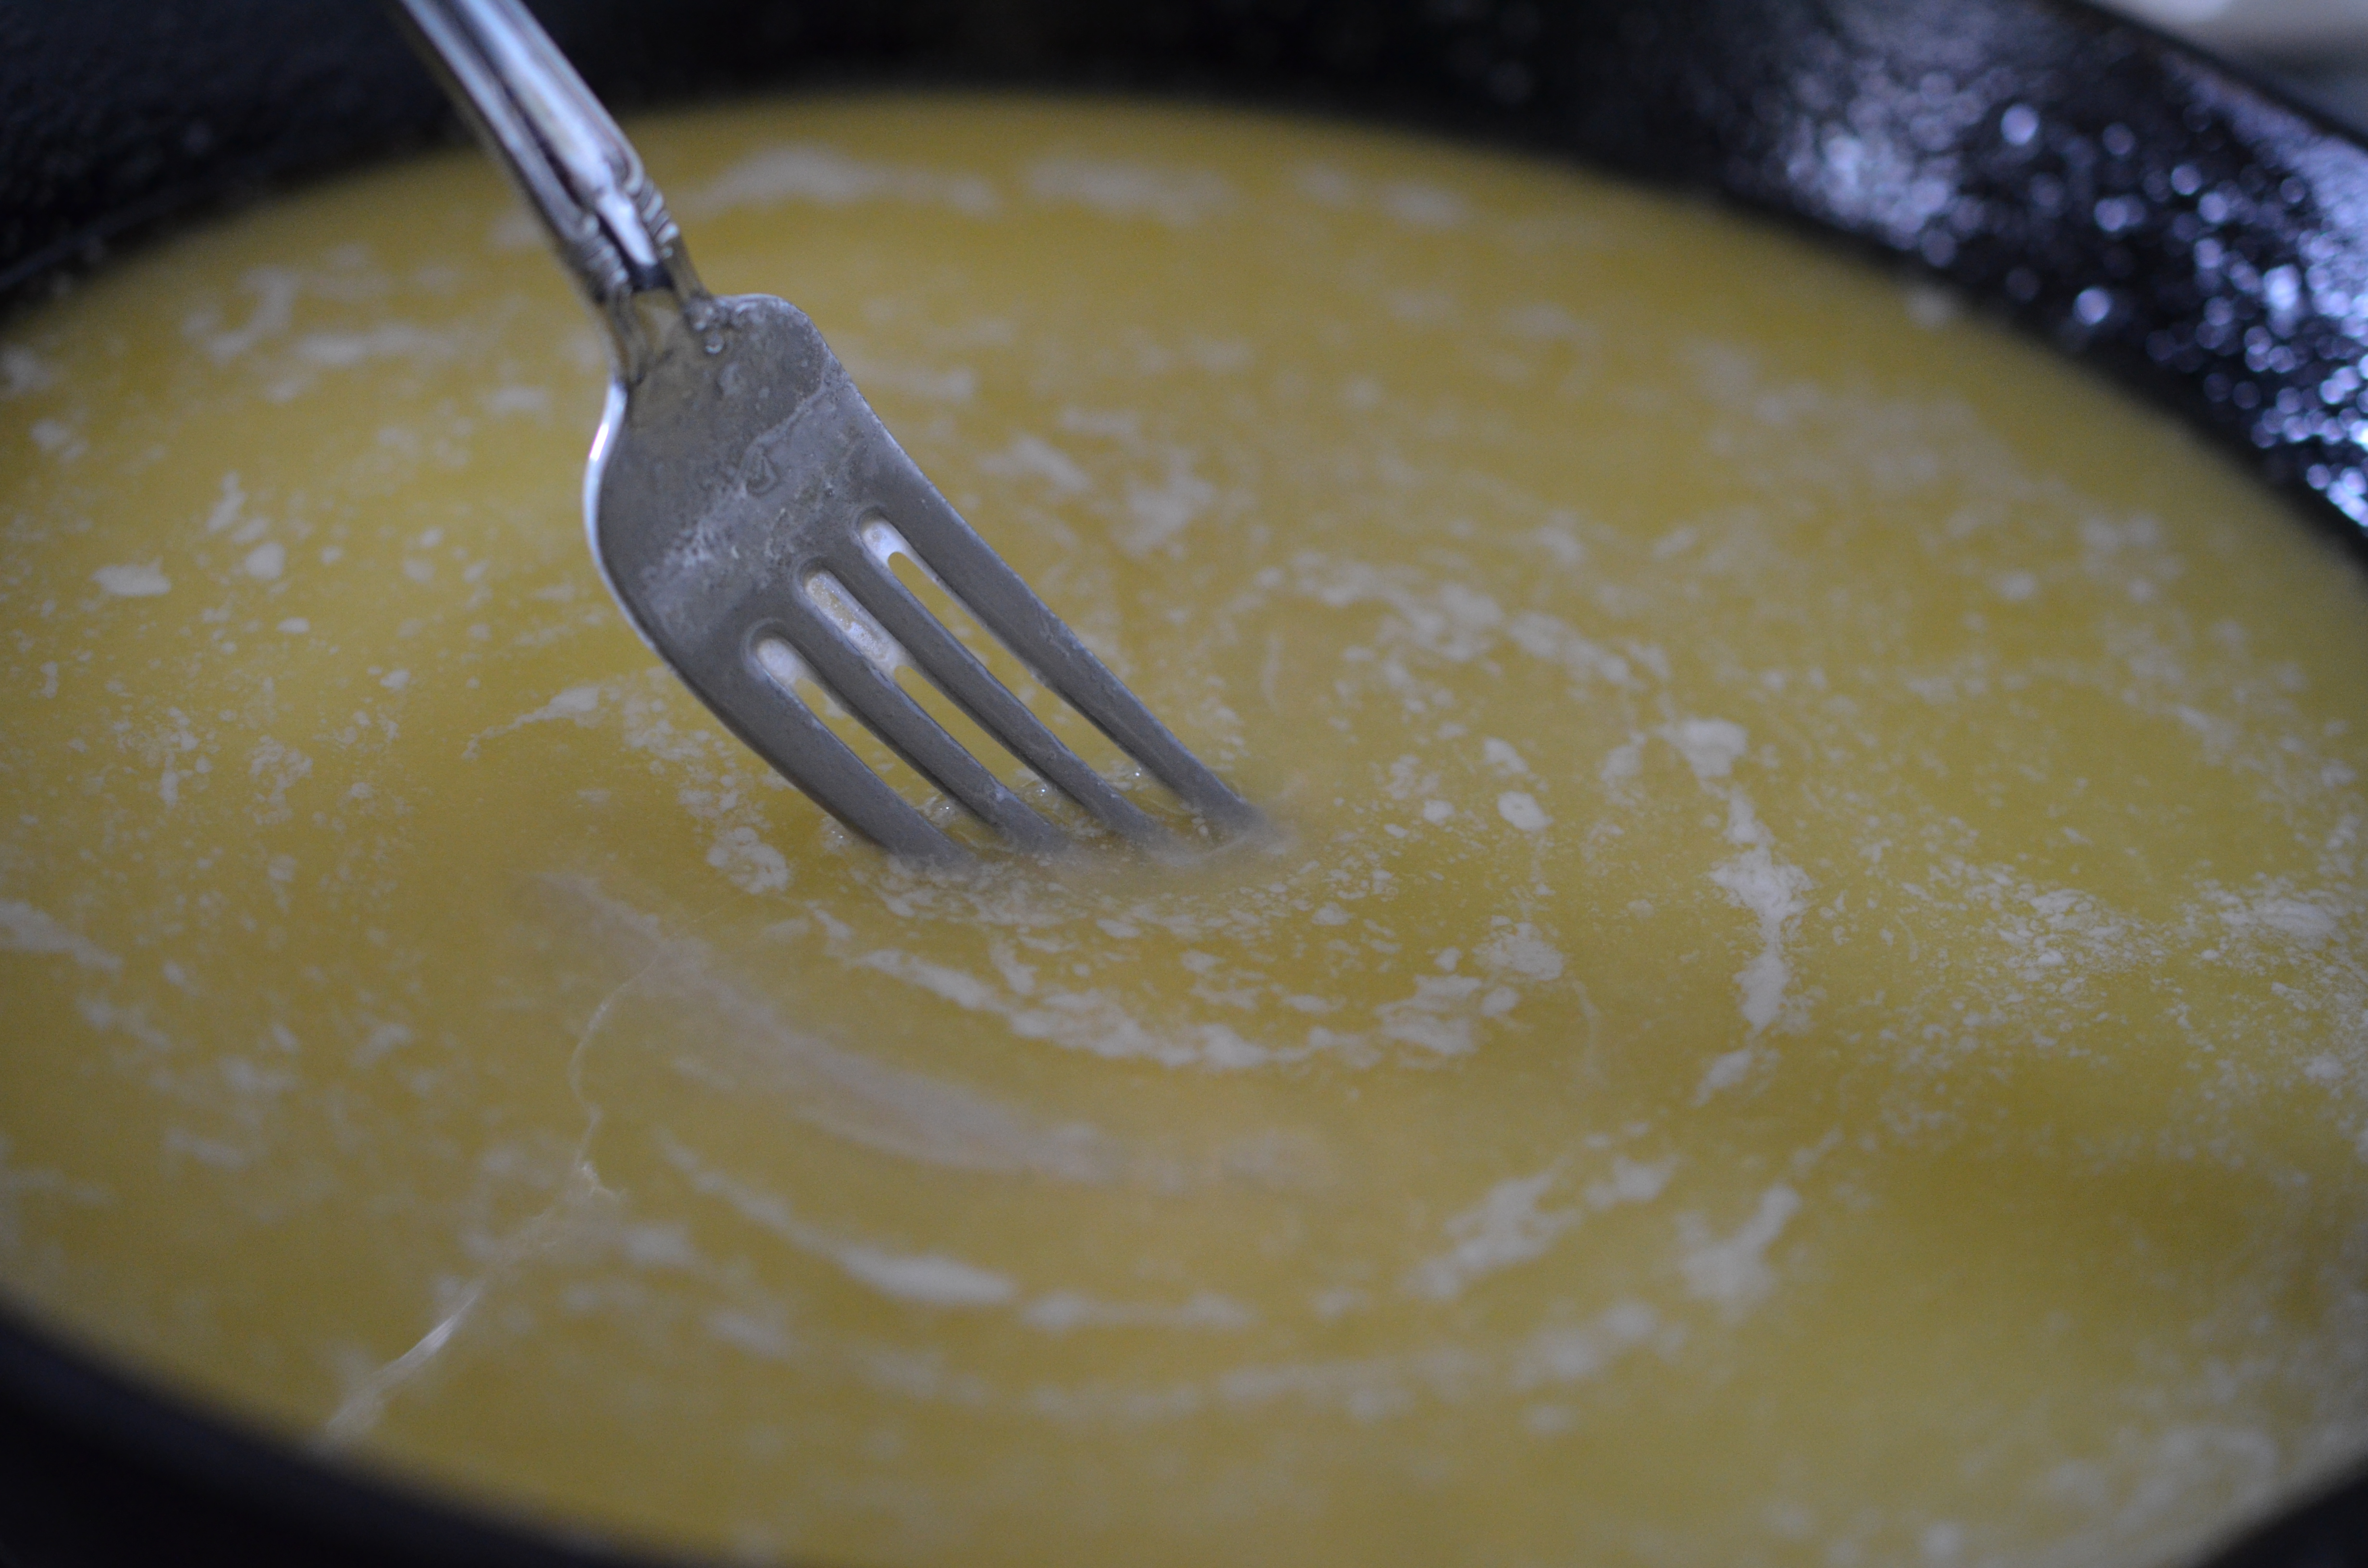
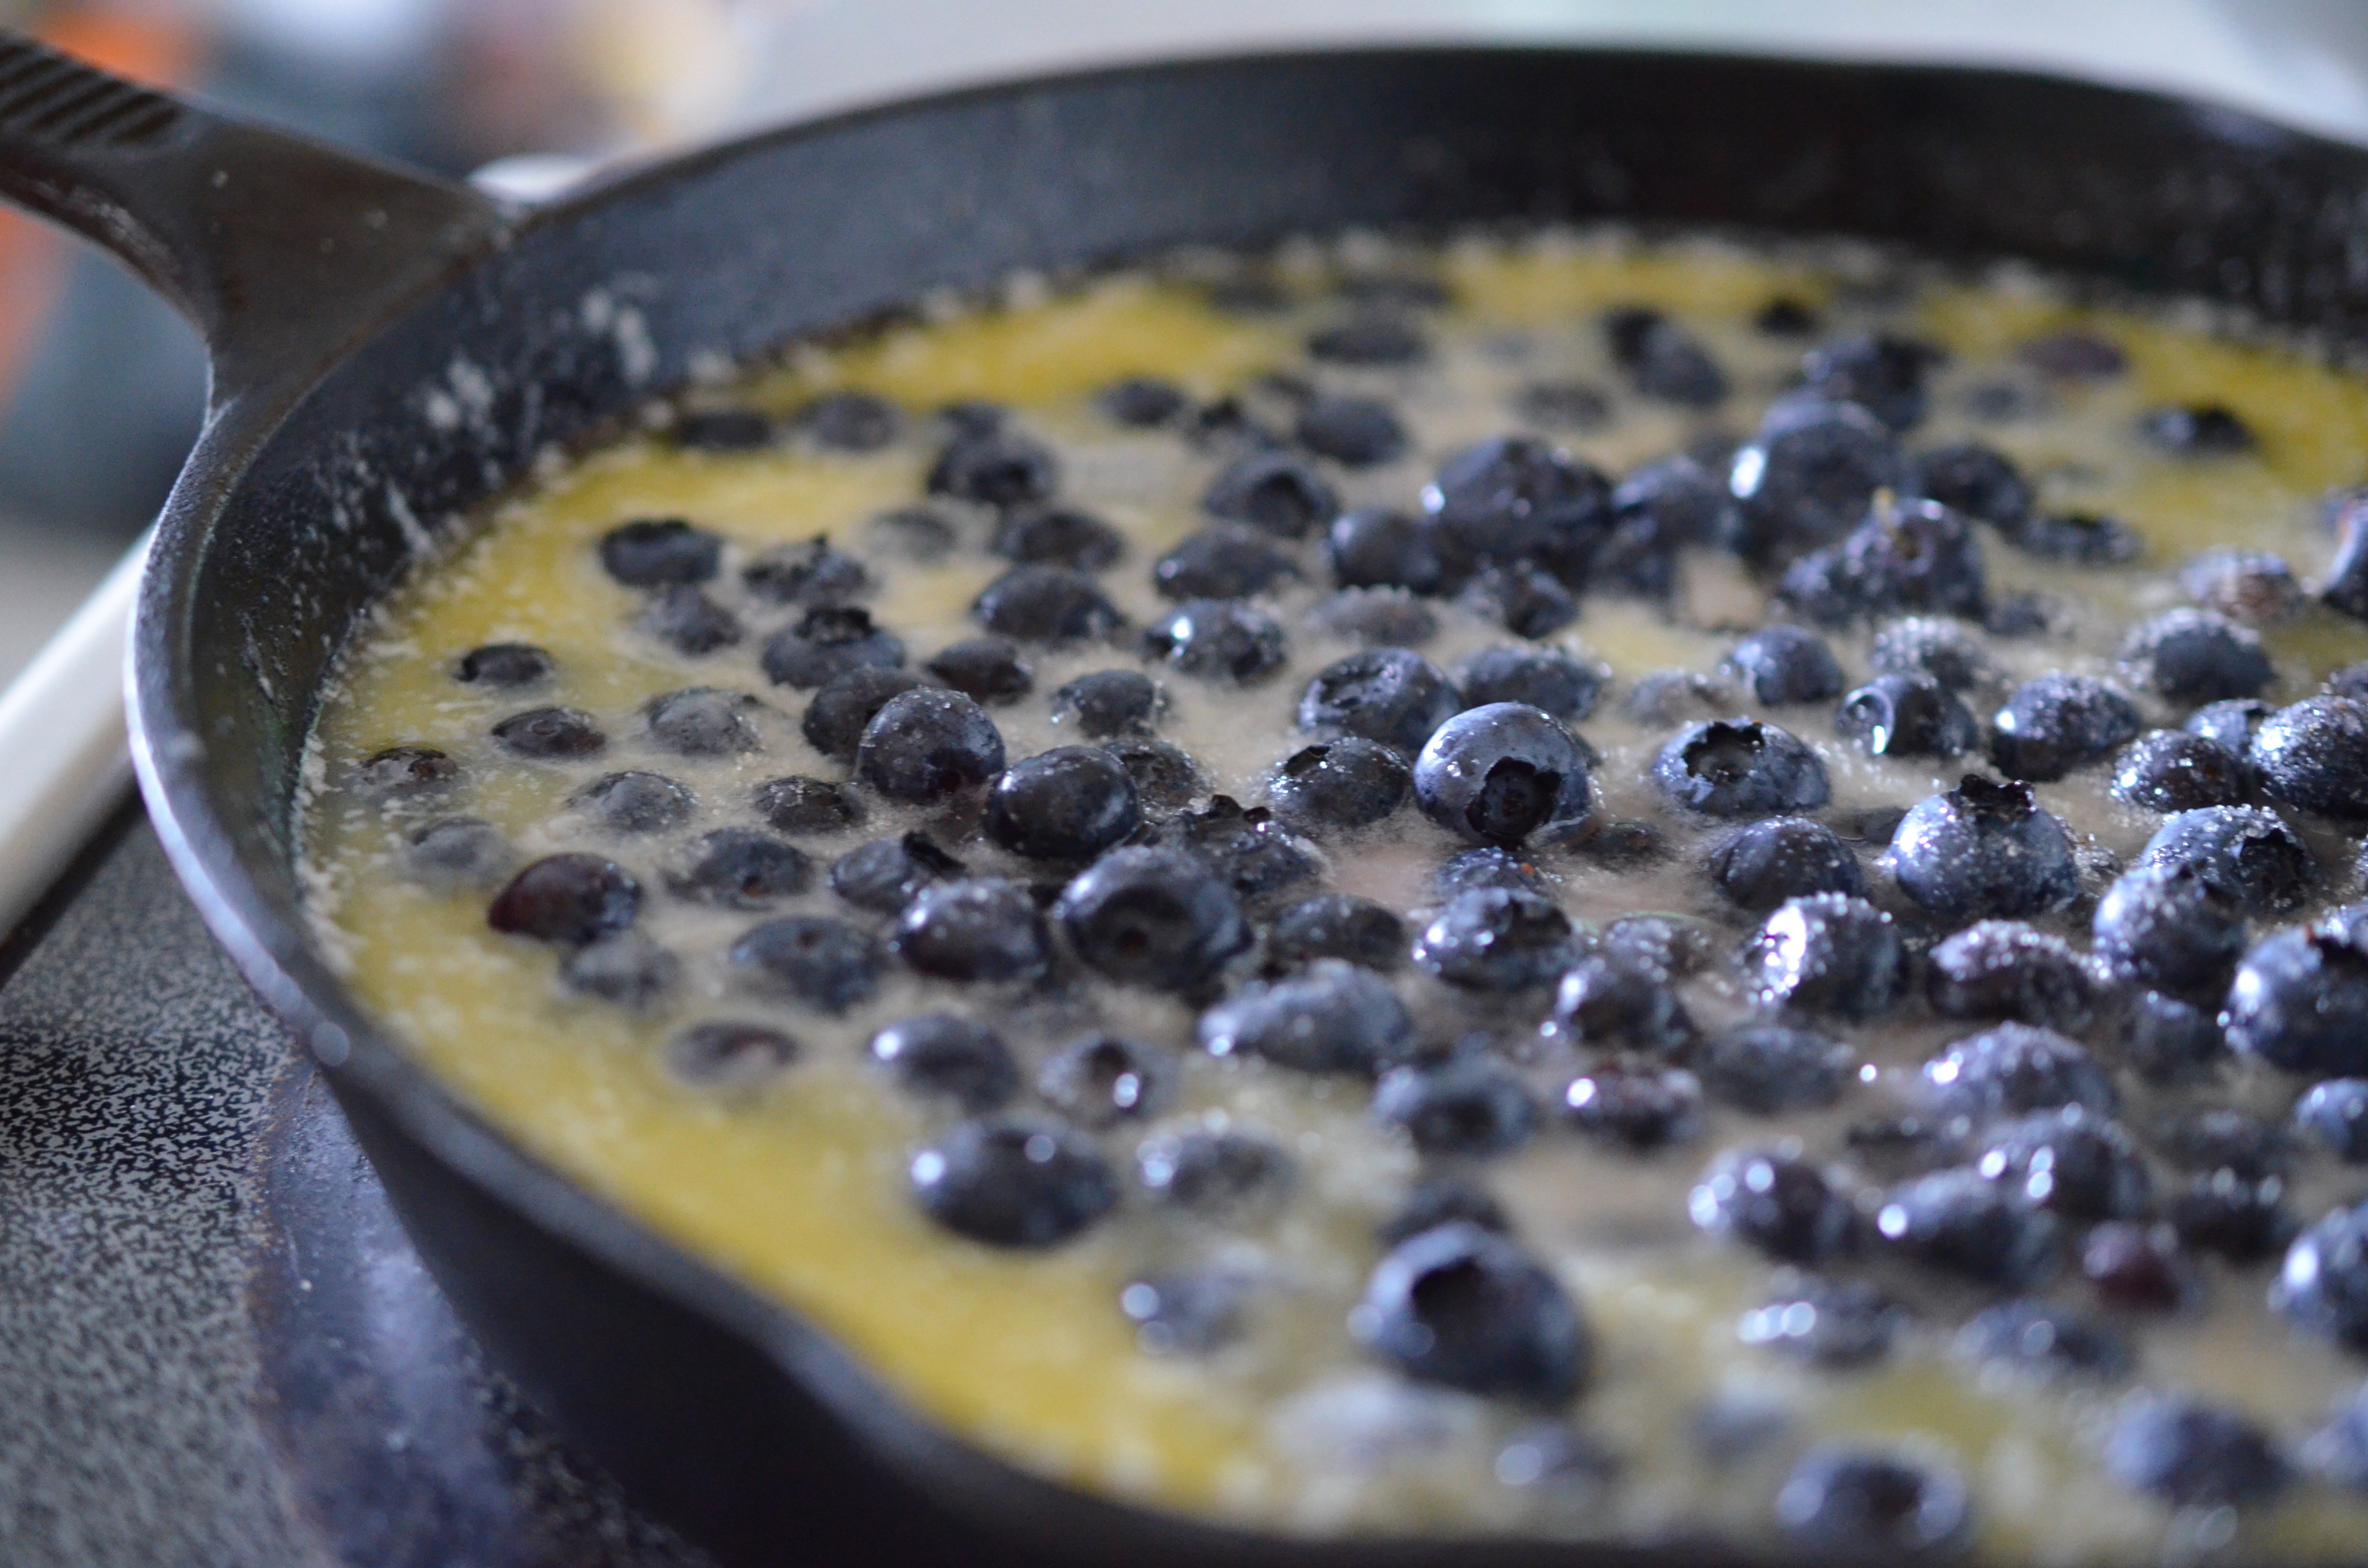
Preheat your oven to 350.  Melt the stick of butter in the baking dish over the stove, I used about a 10”cast iron skillet as any proper southerner would.  While the butter melts combine the flour, sugar and milk in a mixing bowl and whip until smooth.  Once the butter is melted pour the batter into the baking dish and gently whisk until the butter is mixed to the batter.  Spread the berries into the dish, over the batter.   Bake for 35-45 minutes, until the top is golden brown.

DSC_0170DSC_0175DSC_0183

Serves 8-10 friends.  Add a scoop of whip cream or vanilla ice cream, (Blue Bell of course is the best choice) to top it off.  You can substitute your favorite fruit, or whatever is in season also- peaches, pears, apples.

DSC_0252

As it turns out cobbler is controversial thru America, not just in Sir Wes’s family.  It’s one of those desserts that is so forgiving (minus our previously stated cobbler debacles), there came to be a ton of recipes and versions all with different names.

DSC_0225

The Huffington Post published an article last year that cleared it all up for us- they wrote, “There seems to be some confusion over our baked goods, everyone. Tell the truth: if we asked you to tell us the difference between a crumble, cobbler, crisp, grunt, slump, buckle or brown Betty (without Googling it), could you tell us? Until we started working on this article, we definitely wouldn’t have been able to swing it.”

DSC_0208

Honestly, I have never heard of a “grunt” or a “slump” before reading this.  And I feel like they missed the kind that I see the most- a batter based cobbler.

DSC_0260

After trying the recipe I jotted down from his mom, I still am left wondering what went wrong.  The recipe was perfectly told, easy to follow and simple to make.    However, I am happy to say in true southern form, that Farm Berry Cobbler was blessedly dee-licous!

Advertisement

Cherry Rose Hand Pies, a Homemade Childhood Favorite!

We have been taking a lot of trips to the beach lately, which for us is an all-day affair, living 1 ½ hours away from it.  So we get going early, pack a cooler and load the car and are on the road before the morning steam is finished rising.  I discovered last summer that packing chocolate really doesn’t work; it in fact just leads to a plain mess.  So this summer I went with hand pies, perfect for any picnic, lunch box or on the go treat.  I don’t want to knock Hostess or Little Debbie….but…

Cherry Rose Hand Pies

Cherries are in season, and to make these a little more special I added the rose water.  The flavors blend perfectly, giving a floral finish to the cherries.  If you are on Team Hate Rose Water, substitute vanilla extract and double the amounts.  I do know many chefs that detest rose water, but one chef I know recently told me, “Those haters just see it misused a lot”.  A little goes a long way in the case of rose water.

Hand Pies for Everyone!!

Ingredients

Pie Dough –

  • 2 cups all-purpose flour
  • 2 tablespoons sugar
  • 3/4 teaspoon baking powder
  • 1/2 teaspoon kosher salt
  • 3 tablespoons butter, sliced
  • 2 tablespoons shortening
  • 6 tablespoon ice water

Filling –

  • 2 ½ cup pitted cherries
  • 1/2 cup sugar
  • ¼ teaspoon rose water
  • 1/4 teaspoon kosher salt
  • 1 tablespoon corn starch

Glaze –

  • 1/2 cup confectioner sugar
  • 2 tablespoons water
  • 1 tablespoon milk
  • 1/8 teaspoon rose water

 Preparation:

 In a stand mixer with the paddle attachment combine the flour, sugar, baking powder, and salt until mixed well.  Add the butter and shortening into the bowl and run until it looks like coarse meal.  Slowly add water in until the dough comes together.  Remove the dough from the bowl and knead into a ball.  Wrap in plastic and refrigerate for an hour. 

While the dough rests, start the filling. In a medium sauce pan, combine the cherries, sugar, rose water, and salt. Over medium heat allow the ingredients to simmer for 5 minutes, stirring well.  As the juices from the cherries release, remove 4 tablespoons of the sauce and place in a small bowl.  Add the cornstarch into the bowl and mix well.  Stir the cornstarch slurry back into the sauce pan and continue to simmer, stirring constantly until you have the consistency of pie filling.  Remove from bowl and place in refrigerator to cool.

To make the hand pies divide the dough into 8 pieces and roll them into balls. On a floured surface, with a rolling pin, start flattening the balls into 6″-7″ circles. Place them on a parchment paper lined baking sheet and refrigerate for 30 minutes.

Preheat the oven to 375. Remove your dough and allow to stand about 5 minutes. In center of circle add 2 tablespoons of the filling and fold in half. Crimp the edges with a fork and poke the fork into the center of each pie to allow the steam to exit.  Place the pies back onto the parchment lined baking sheet and place in oven.  Cook for 30-35 minutes, until the crust is golden.

While the pies are baking, make the glaze by mixing all the ingredients in a small bowl, stirring until smooth.  Once the pies have been removed from the oven, allow them to cool slightly, and then spoon pour the glaze over them.  Allow the glaze to set while the pies continue to cool.

Makes 8 hand pies.  These can be refrigerated up to a week or frozen up to a month.

Lunch Box Favorite!

I love the portability of hand pies, easy and convenient.  But most of all, I love being taken back to the special days of my childhood that I would find a hostess pie in my lunch. 

Peach and Tarragon Peach Mason Jar Pie

Happy Independence Day to all!  Sir Wes LOVES the 4th of July, I secretly think he has the goal to participate in Coney Island Hot Dog Eating Contest, which just thinking about makes me a little sick.  Most years we stick with a batch of Sangria, a cookout and a trip down to Celebration to see the fireworks instead.  Yesterday I made a dessert that would be perfect to pack on any picnic, park, beach, or backyard.

Peach and Tarragon Mason Jar Pies

I can’t resist the scent that comes from the piles of peaches at the market, the smell is so strong you can taste it.  I love this quote of a Farmer describing his peaches on NPR, “Drips off your elbows, drips off your chin, drips off your face, drips onto your shirt, onto your pants, onto your shoes … We just want the consumer to know out there, that this is an awesome fruit and it’s a great time of year.”

Easy Travel Peach Pie!

Fresh peaches and a leftover pie dough sheet in the fridge, perfect for this all American holiday!  I had a bit of fresh tarragon staring at me from the refrigerator shelf , so I added that into the filling.  I love adding herbs to fruit, they just add a different, refreshing twist.

  • 4 peaches, pitted and diced
  • 1/4 cup light brown sugar
  • 1 ½ tablespoon chopped tarragon (basil or cilantro will work here too)
  • 1 tablespoon water
  • 1 pie dough sheet, use your favorite recipe, or purchase one
  • 4 ½ pint mason jars

To prepare the filling:

Place all the peaches, sugar, tarragon and water in a heavy saucepan over medium heat.  Allow to gently simmer, pulling out the juices of the peach, with the sugars thickening the juice.  After 15 minutes remove from heat and cool in refrigerator.

To assemble Mason Jars:

Roll out dough to a standard pie thickness, cut out 8 circles of dough by using the top of the mason jar.  In each jar place a cutout on the bottom and scoop the peach filling into the jars.  Top with the remaining dough. 

Place mason jars on baking sheet and cook in oven for 30 minutes at 425°.

The smell of peachs makes my mouth water!

Happy Independence Day, may we all appreciate the freedom we have, thanks to the service men and women who have provided it so courageously!

Black Velvet Apricots meets Ginger Simple Syrup

Summer fever has officially taken over in this house, school is out, humidity is high, plants are blooming, and pool days are here.   My favorite weekend outing is going to the water parks and taking a spin on the Lazy River.  We can spend hours just floating in an inner tube getting lost in day dreams.  Nothing like it. And as afternoons slip away it leads us to evening meals on the fly.

Gingered Black Velvet Apricots over Angel Food Cake

This weekend after a quick, big salad for dinner, it left us wanting dessert.  I picked up some stone fruit at the market earlier, including a few plump, juicy Black Velvet Apricots, which would go perfectly with the Angel Food Cake we had earlier this week.  And to spice it up I used the ginger that Sir Wes had pulled up last week from our ginger plant to make a simple syrup.  When we hijacked the plant from his mom’s yard last summer, I knew that we would make good use out of it. 

This à la minute dessert was so easy, and would work well with any fresh fruit you have in the fridge.  Just toss about 3 tablespoons per cup of fruit and pour over you favorite cake, sponge, angel food cake, or even by itself.

Ginger Simple Syrup

  • 1 cup granulated sugar
  • 1 cup water
  • 2 inches of ginger root, rough chopped

In a small saute pan add sugar, water and ginger.  Bring to a slow simmer over a moderate heat, allowing the ginger to cook into the syrup.  Allow to simmer for 2 minutes and then remove from heat.  Allow to steep for 15 minutes before straining the ginger out.  Refrigerate until cool. 

Makes about 1 /4 up and can be kept in refrigerator for up to 4 weeks.

Sweet Apricots with a Kick of Ginger

And as a bonus…this simple syrup works great in summer cocktails.

Cheers!

Brown Turkey “Figgy” Jam

Another creation from my Alabama mother-in-law’s backyard!  As always, my eyes are bigger and badder than my stomach; therefore, I insisted on traveling home to Florida with the remaining bounty of my backyard farming.  (No surprise when I realized the life of these beauties was nearing an end.) 

I did the best thing I knew and made jam!  Images of fig jam creations danced thru my head: croissants, Greek yogurt parfaits, chicken marinates, pork belly glazes, salad dressings…etc. –  You get the idea!

Alabama Brown Turkey Figs- Roll Tide!!!!

Fresh figs are in season beginning in July in the south, and a bit later in the summer as you travel north.  Many people we ask have never tried a fresh fig, and only refer to the almighty “Newton” or a dried figs as something they’ve tried.  Well there is more to figs than the “Newton” – the flavor is night and day. A fresh ripe fig has the texture of a ripe peach, and a juicy sweetness.

This is another really easy recipe that will provide endless results.  The shelf-life is great, so no need to feel like you have to use it up right away.  It is also perfect for canning.  **Mental note to myself -must learn how to can soon!!

Figgy Jam

  • 2 ½ cups Fresh Brown Turkey Figs, quartered
  • Zest of ½ a lemon
  • Juice of ½ a lemon
  • 1 tablespoon sugar (depending how sweet your figs are you may adjust)
  • 2 tablespoon light brown sugar
  • 2/3 cup water (depending how plump and juicy your figs are you may adjust)

Figs cooking -Simmer slowly, let the sugars carmelize

This is super simple – just put the figs, lemon zest, lemon juice, and sugars into a heavy 2 quart pot and slowly simmer.  The sugars and juices from the figs will slowly release and start to caramelize.  My figs did not release enough juice so I helped it along, with a couple of tablespoons of water at a time.  When the figs had cooked down and a nice golden brown color appeared, I removed from the pot from the stove and ran the chunky jam thru a food processor, giving a smooth spread.  Allow it to cool and keep refrigerated for 3 months.

Cooked down figs- nice caramel color!!

Fig Jam! Spreads, sauces, marintates, dressings, and even homemade poptarts!!!!!!!

Happy cooking!!

Carroll